Jira Connector v1.0
1. General Information
Jira is a popular project management tool developed by Atlassian. It is primarily used for issue tracking, bug tracking, and agile project management. Jira allows teams to plan, track, and manage their work efficiently through the use of customizable workflows, boards, and dashboards.
2. Authentication
We can use either OAuth2.0 or basic auth to authenticate Jira apis.
a. OAuth2.0
To create an app for oauth2.0 authentication login to https://developer.atlassian.com/console .
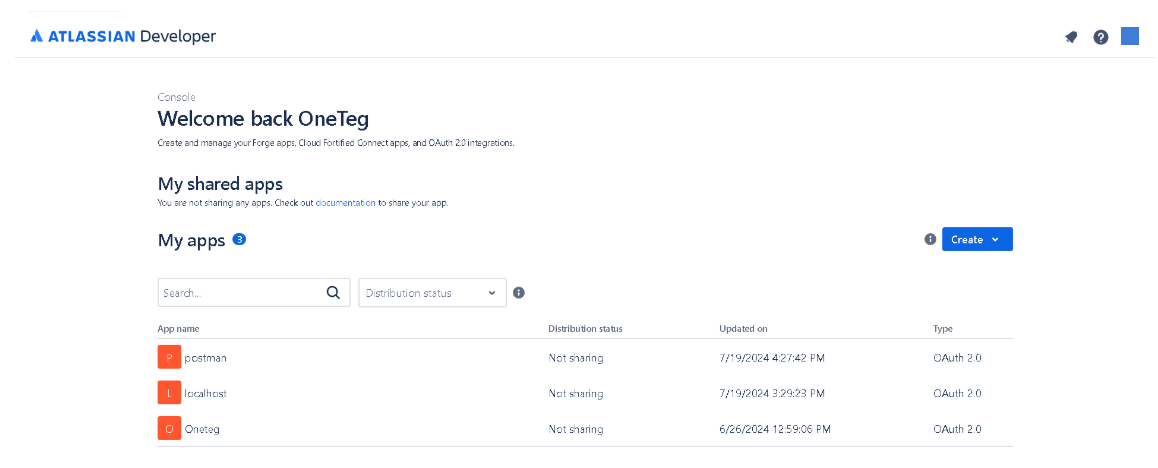
As we can add only one callback url to an App , we will be needed to create an application for each environment like qa, dev, localhost etc.
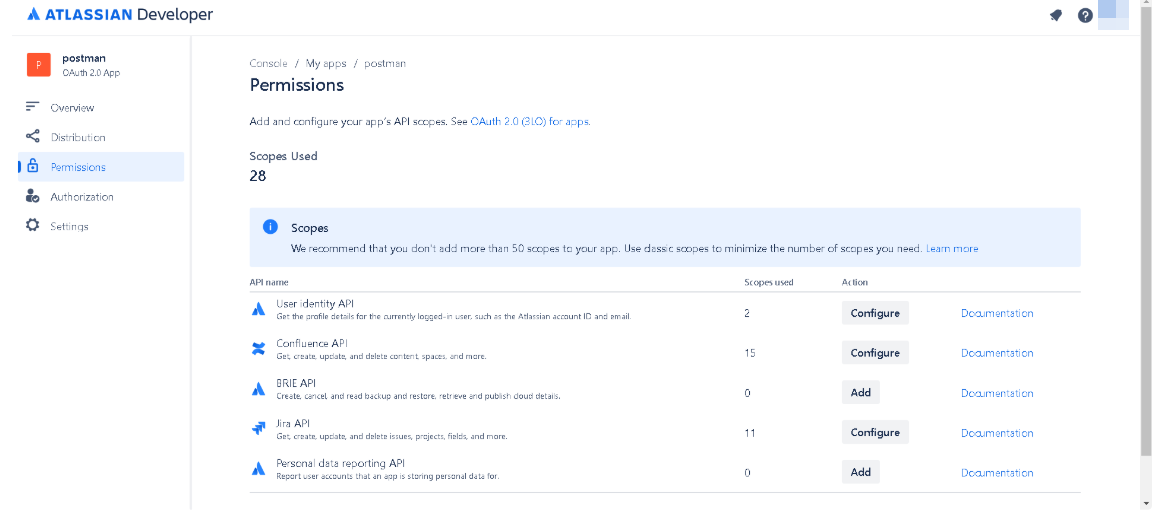
b. Adding Scopes to App
After an app is created go Permissions tab and click on Configure button to add scopes to an app.
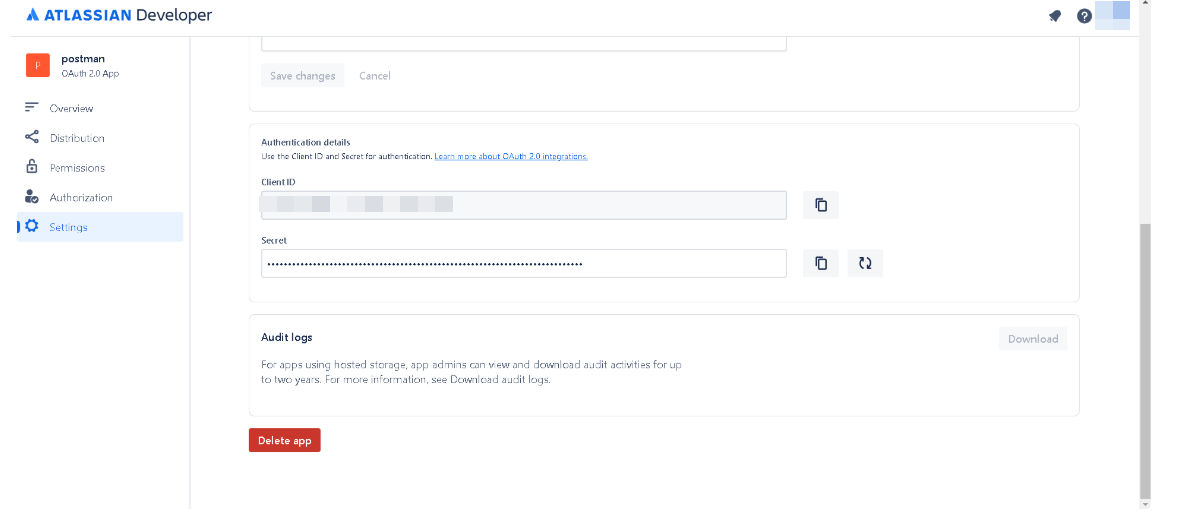
c. Client ID and Secret
Go to Settings page in an app to get client ID and secret
2. Basic Authentication
The type of authentication used to authenticate HTTP requests is HTTP Basic. To authenticate requests using HTTP we have to generate an API Token which is used as a password. To generate a token click on the user icon on the top right corner of the Jira board and click Manage account.
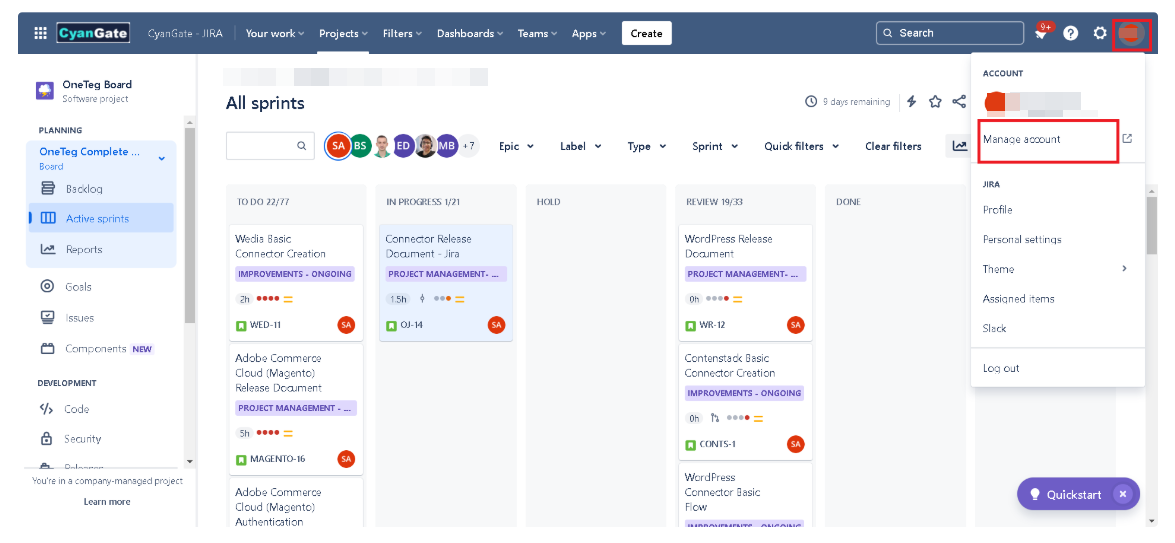
On the next page go to the Security tab to generate the token.
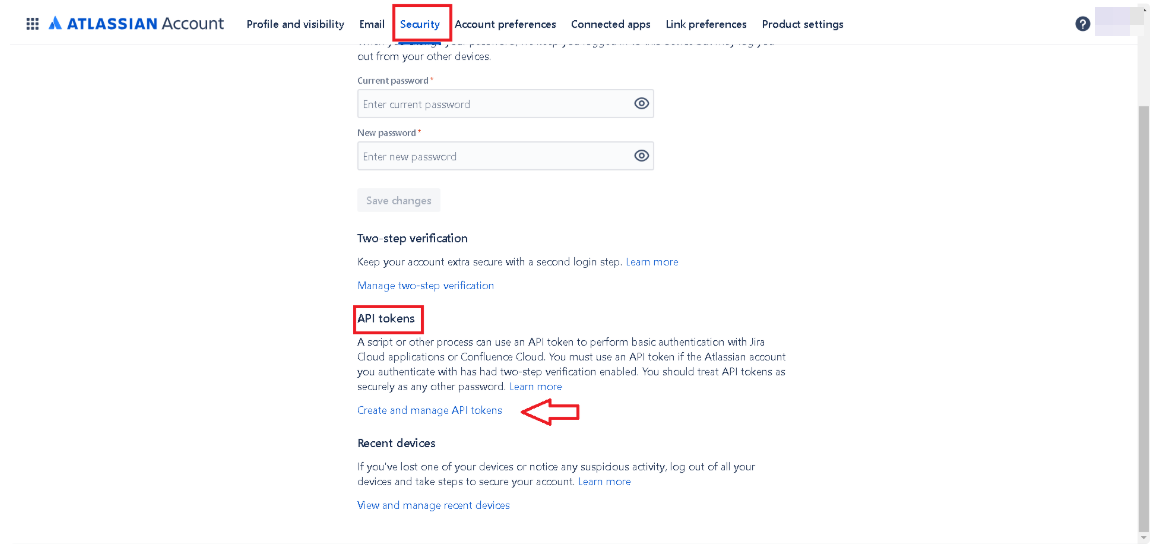
Click on Create and Manage API tokens to generate tokens.
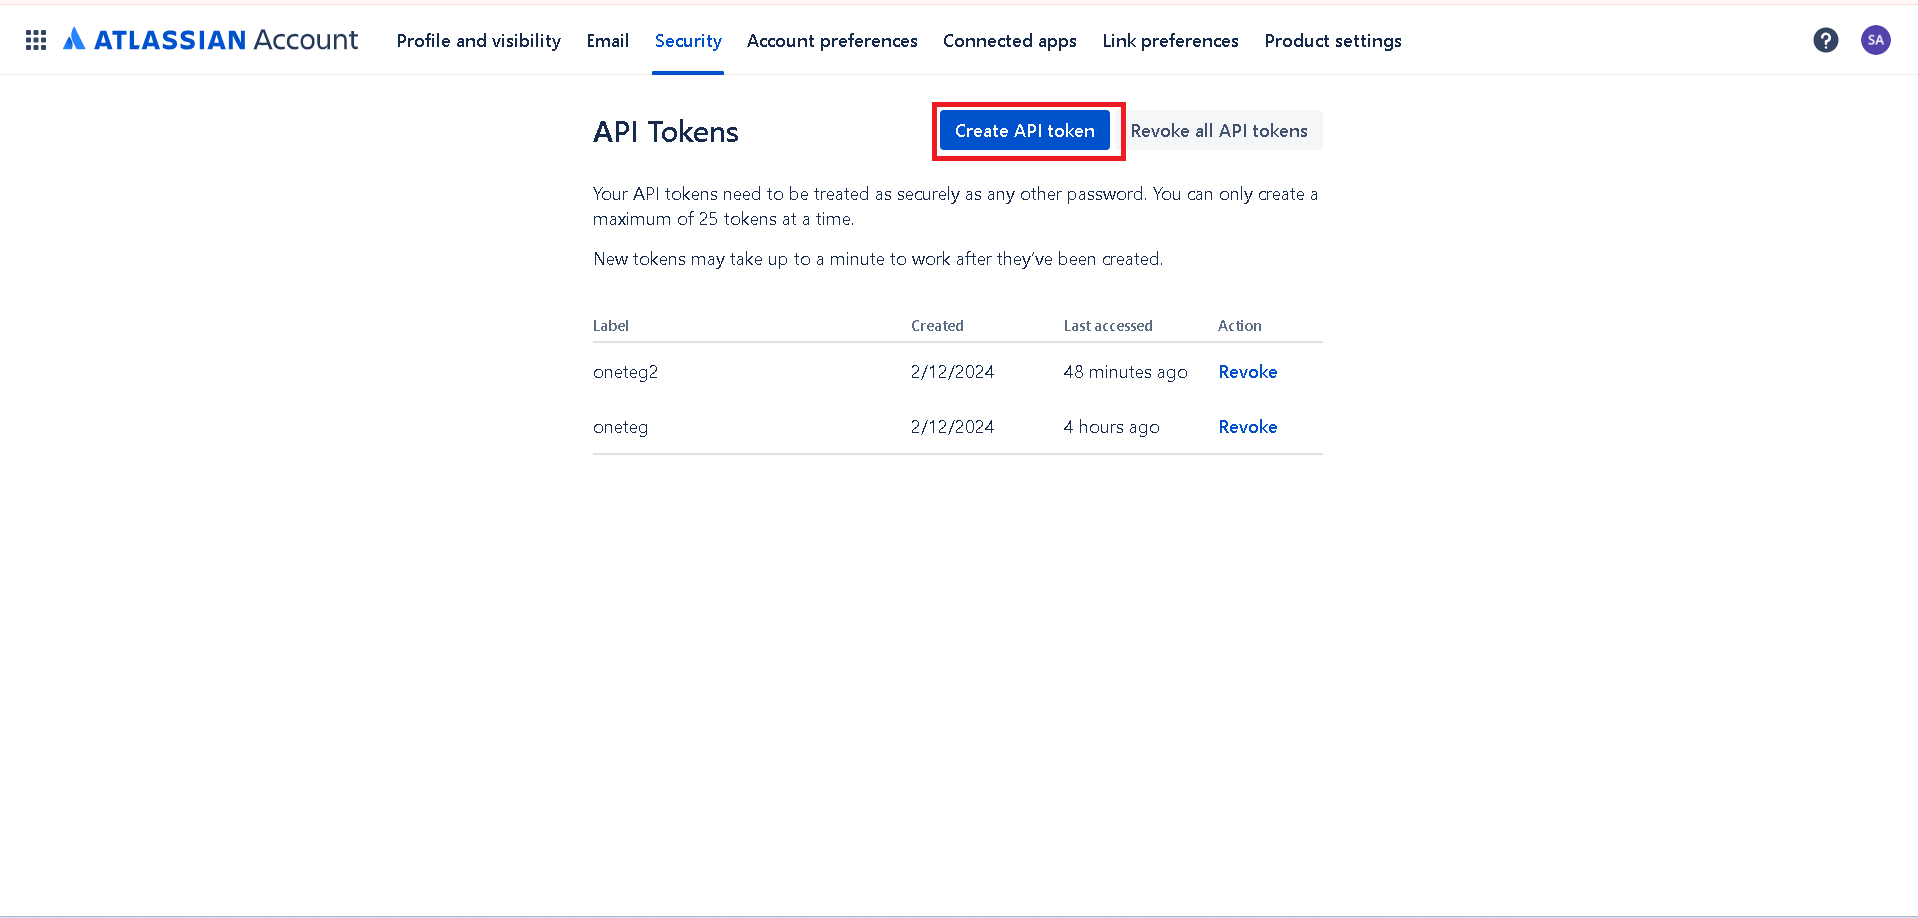
After the token is generated this token is used as a password along with the email of the user as a Username.
Username: user.email@xyz.com
3. Connector Actions and Tests
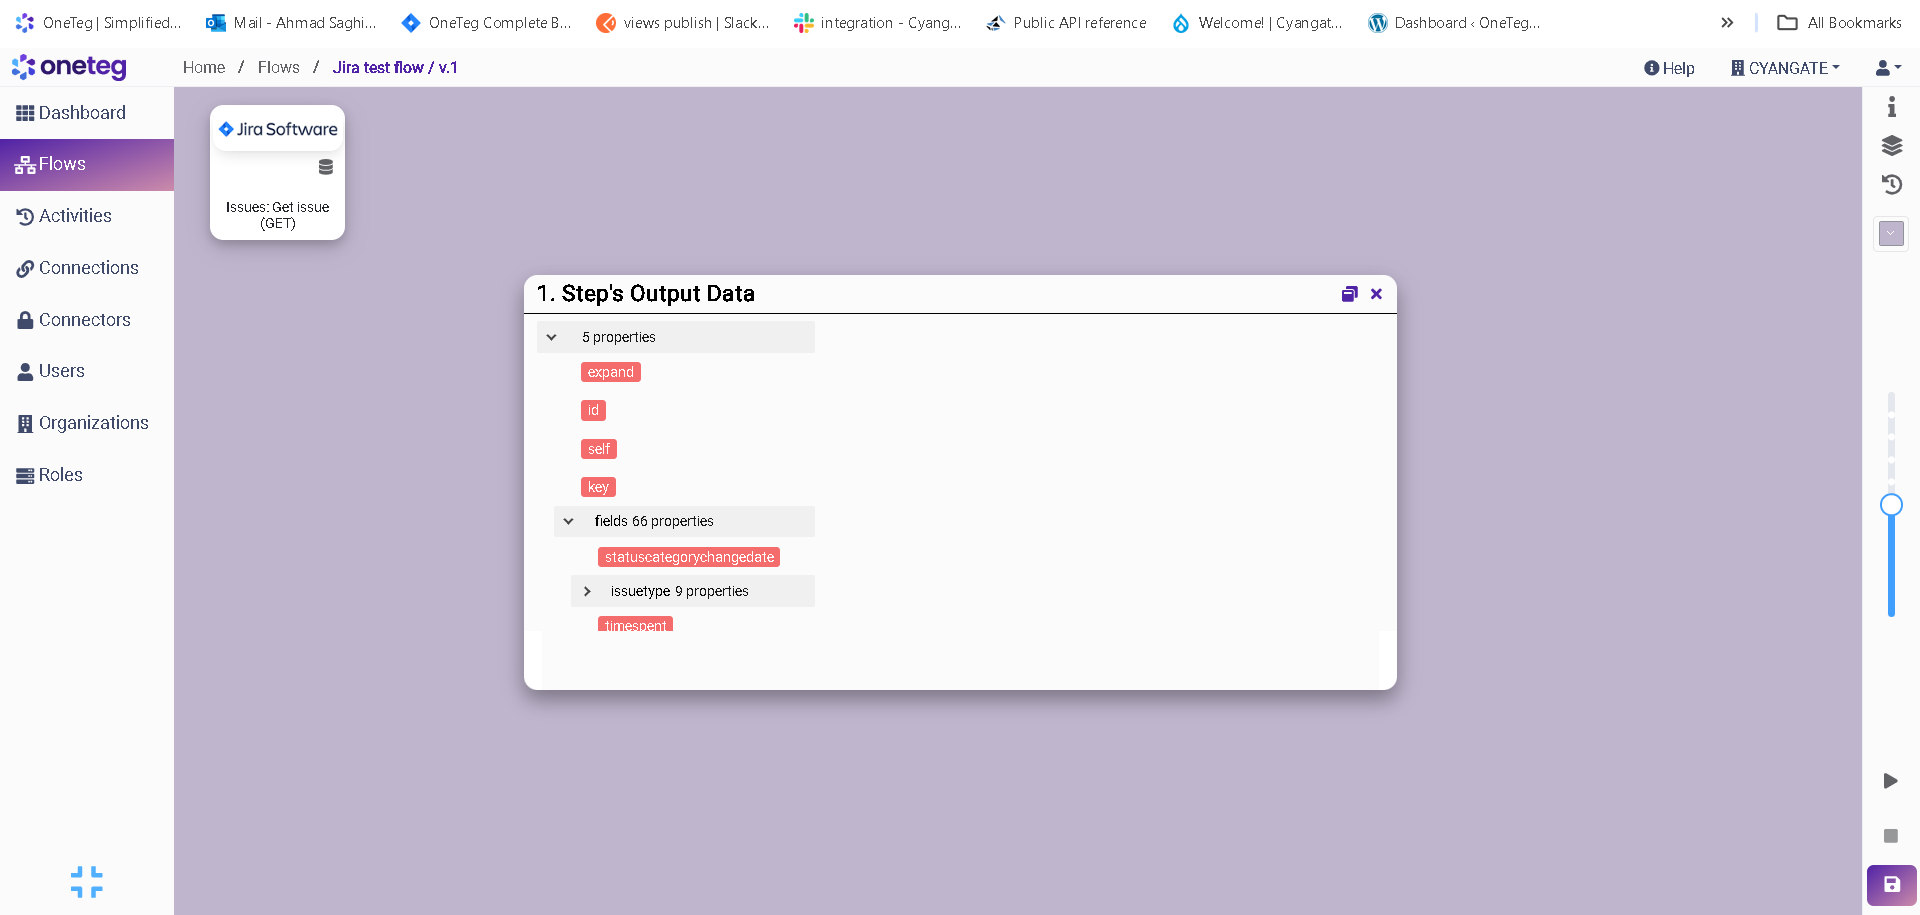
Get Issue by ID.
We use the action Issues: Get issue (GET) action to get the issue by its ID.
Action Name / Method | Issues: Get issue (GET) |
|---|---|
Action Description | This action is used to get issue by its id. |
Test Case | This action is used to get issue by its id. |
Request Body Name | Paramenter |
| Issueidorkey required |
4. Connection Settings and Configuration
Jira has different hostnames for OAuth2 authentication and Basic auth.
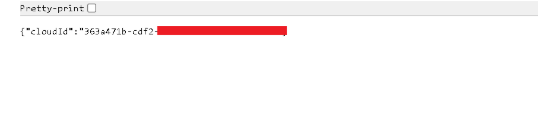
Getting Cloud_Id
We can get the cloud id of site if we are signed in to Jira on google chrome using the url .
Construct the request URL
Requests that use OAuth 2.0 are made via api.atlassian.com while using basic auth we use https://your-domain.atlassian.net).
Construct your request URL using the following structure:
Jira apps:
https://api.atlassian.com/ex/jira/{cloudid}/{api}
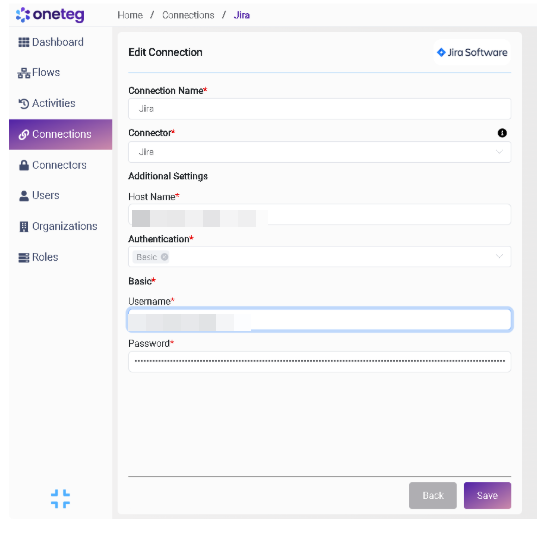
Connection Settings for Basic Auth
Settings Parameters | Value | Description | Required (Y/N) | Default Value |
|---|---|---|---|---|
Connector | Jira | Connector Name | Y | Jira |
Host Name | Endpoint required for performing CRUD | Y | ||
Authentication | Basic | Type of authentication | Y |
|
In the Username put the email of the account and in the password put the Token (NOT LOGIN PASSWORD) generated
Connection Setting for OAuth2.0
Settings Parameters | Value | Description | Required (Y/N) | Default Value |
|---|
Settings Parameters | Value | Description | Required (Y/N) | Default Value |
|---|---|---|---|---|
Connector | Jira | Connector Name | Y | Jira |
Host Name | Endpoint required for performing CRUD | Y | ||
Authentication | OAuth2 | Type of authentication | Y |
|
Auth Url |
|
|
|
|
Token URL |
|
|
|
|