LinkedIn Connector v1.0
1. Prerequisites and Additional Steps and Helper Utilities
Log in to https://developer.linkedin.com/ using your Linkedin credentials
Click “Create an app” if you do not have any app.
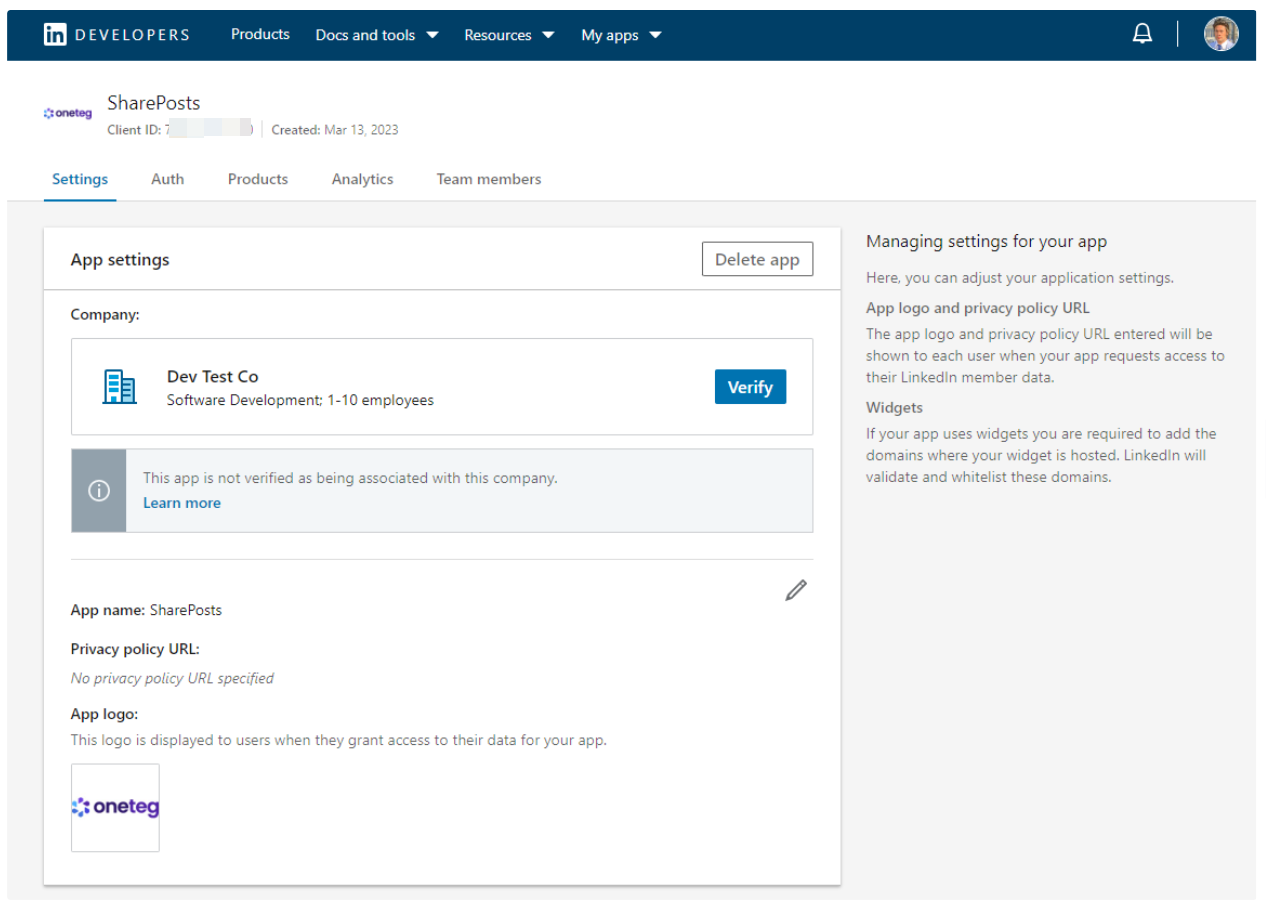
After creating your app, you can select your app from https://developer.linkedin.com/ on top-right “My apps” button. After clicking that select your app and you will see a similar page as below:
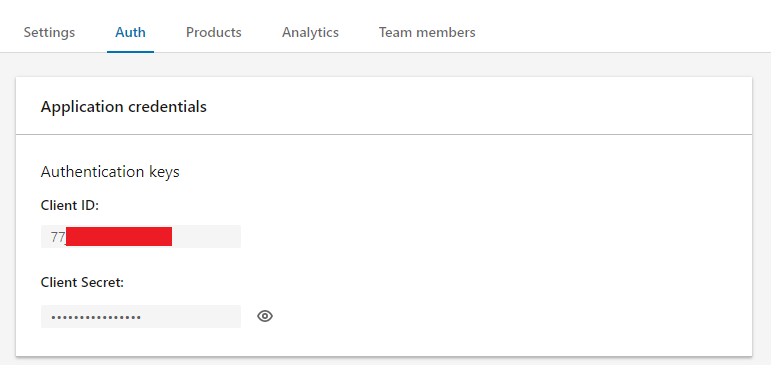
In Auth tab, get your Client ID and Secret
In Auth tab, enter redirect URLs under OAuth 2.0 Settings, Example:
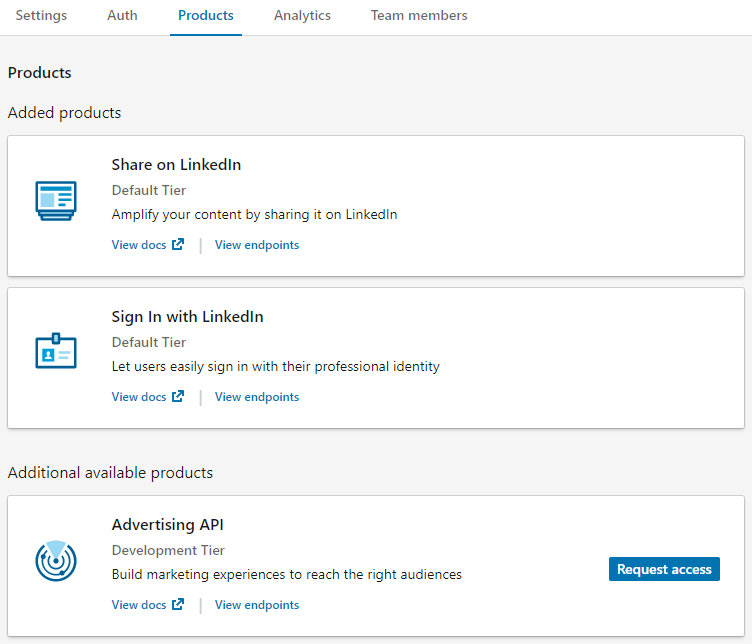
In Products Tab, select Request access for both Share on LinkedIn and Sign In with LinkedIn. After that, you should see:
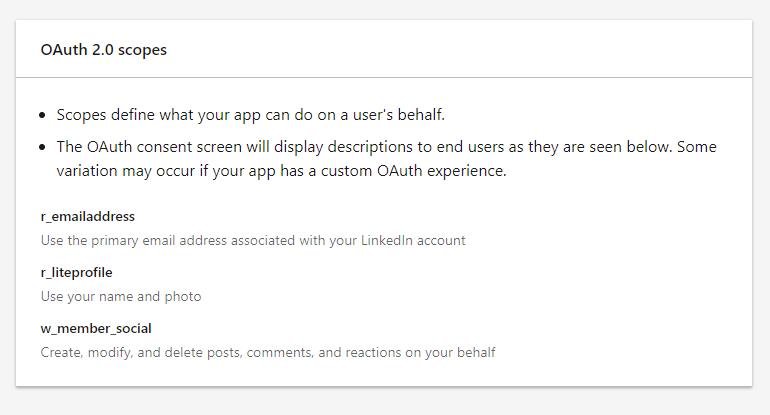
In Auth tab, enter OAuth 2,0 scopes should be added automatically r_emailaddress, r_liteprofile, w_member_social. After saving these scopes for the first time, you might need to wait and refresh the page for the scopes to be shown.
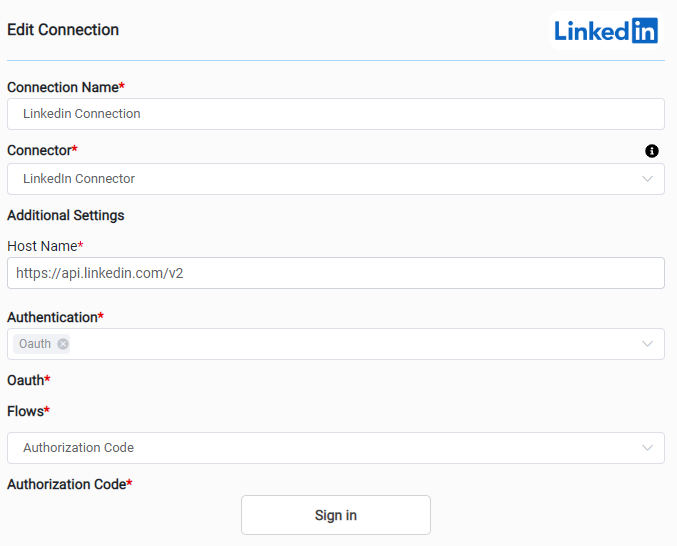
For now, demo Linkedin account client ID and Secret is embedded in the code, it cannot be changed. Therefore only Signing In in Edit Connection page is sufficient.
Return to your OneTeg environment and in the connections page, enter the hostname parameter as:
Host Name: https://api.linkedin.com/v2
2. Example Connector Action Use
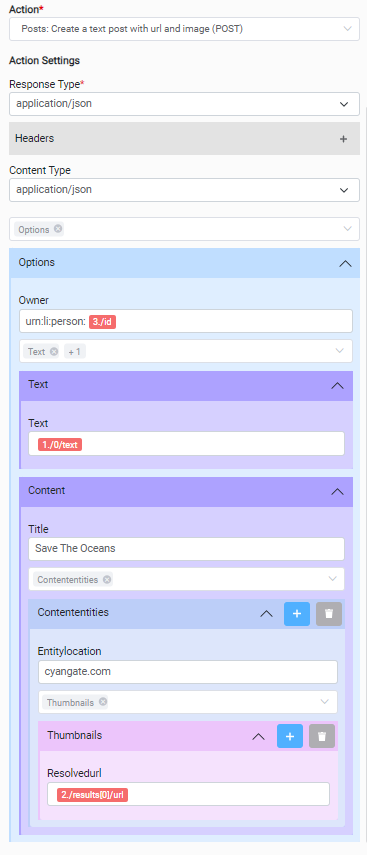
Action Name / METHOD | Posts: Create a text post with url and image (POST) | ||
|---|---|---|---|
Action Description | Creates an article (post) in LinkedIn - This endpoint was deprecated but in the new version it is more trickier and I decided to use this endpoint it for demo, to save time, and it is working | ||
Request Body Name | Parameter | Type | Description (Example) |
Options | Owner | String | Owner id, ex: urn:li:person:Zzx_1lm8ho 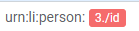 |
Options → Text | Text | String | Linkedin article text |
Options → Content | Title | String | Title of the content |
Options → Content → Contententities | Entitylocation | String | Web site to be redirected when clicked on image |
Options → Content → Contententities → Thumbnails | Resolvedurl | String | Image’s url address |