Salesforce B2B & B2C Commerce Connector v1.0
1. Developer Account
Create a developer account by from the Sign Up link. After registration, Salesforce sends a verification mail.
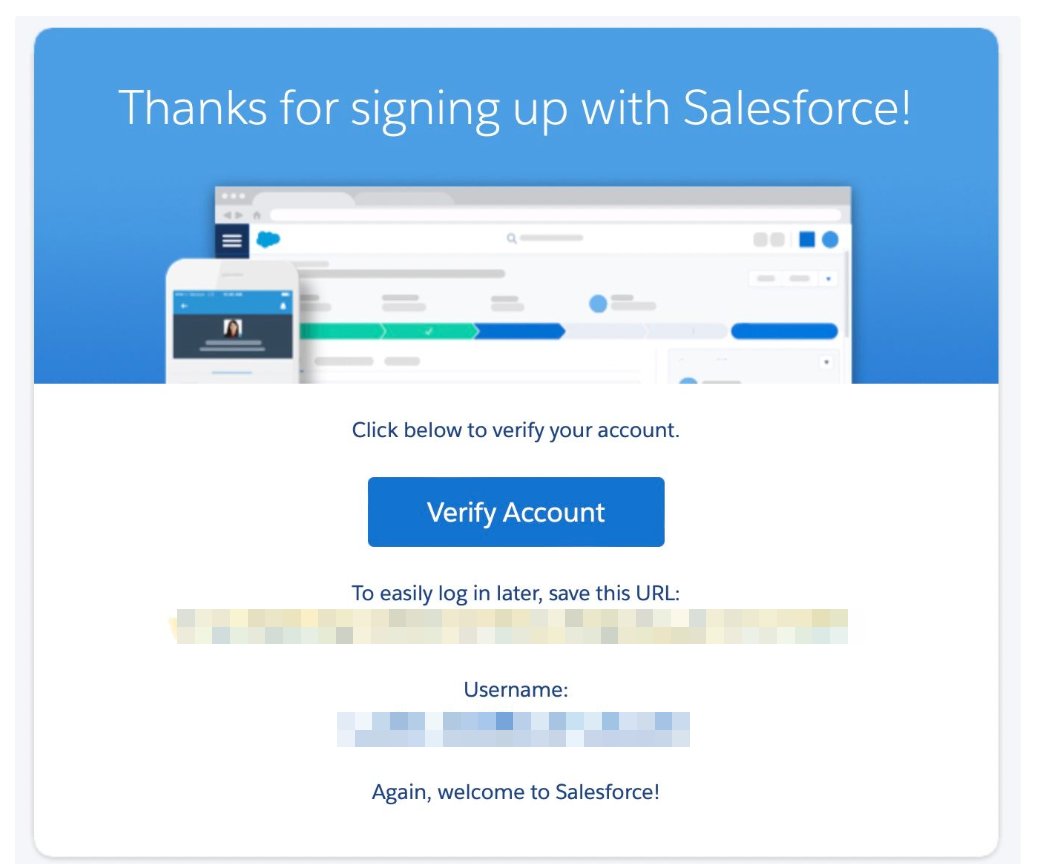
Save the login URL that is shown in the mail. It will be used for account configuration.
a. Org Configuration
Enable Digital Experiences for Commerce
From Setup, in the Quick Find box, enter Digital Experiences. Select Digital Experiences, and then select Settings.
Select Enable Digital Experiences.
Click Save
Enable Commerce Features
From Setup, in the Quick Find box, enter Commerce. Select Commerce, and then select Settings.
Click the toggle so that it shows Enable Commerce.
Click Save.
b. Configure a Connected App
A connected app requests access to REST API resources on behalf of the client application. For the connected app to request access, it must be integrated with your org’s REST API using the OAuth 2.0 protocol. OAuth 2.0 is an open protocol that authorizes secure data sharing between applications through the exchange of tokens.
For instructions to configure a connected app, see Create a Connected App in Salesforce Help. Specifically, follow the steps in Enable OAuth Settings for API Integration.
Connected App contains Client Id and Client Secret
c. Rest API
There are many API endpendpoints salesforce integration. Details can be found at Which API to use? The following API’s will be used within the scope of this project:
Rest API will be used for object-level operations.
Connect REST API will be used for product import and content upload.
Connect REST API Developer Guide
d. Salesforce Postman Collection
Salesforce provides a Postman Collection for testing API endpoints. Trailhead Quick Start: Connect Postman to Salesforce describes how to set up Postman with the Salesforce API collection to access data in your Salesforce org.
e. Authorization Through Connected Apps and OAuth 2.0
For a client application to access REST API resources, it must be authorized as a safe visitor. To implement this authorization, use a connected app and an OAuth 2.0 authorization flow.
f. Apply an OAuth Authorization Flow
OAuth authorization flows grant a client app restricted access to REST API resources on a resource server. Each OAuth flow offers a different process for approving access to a client app, but in general, the flows consist of three main steps.
To initiate an authorization flow, a connected app on behalf of a client app requests access to a REST API resource.
In response, an authorizing server grants access tokens to the connected app.
A resource server validates these access tokens and approves the protected REST API resource access.
OAuth 2.0 Web Server Flow for Web App Integration will be used for Salesforce Connector. For details about each supported flow, see OAuth Authorization Flows in Salesforce Help.
2. Connector Actions & Tests
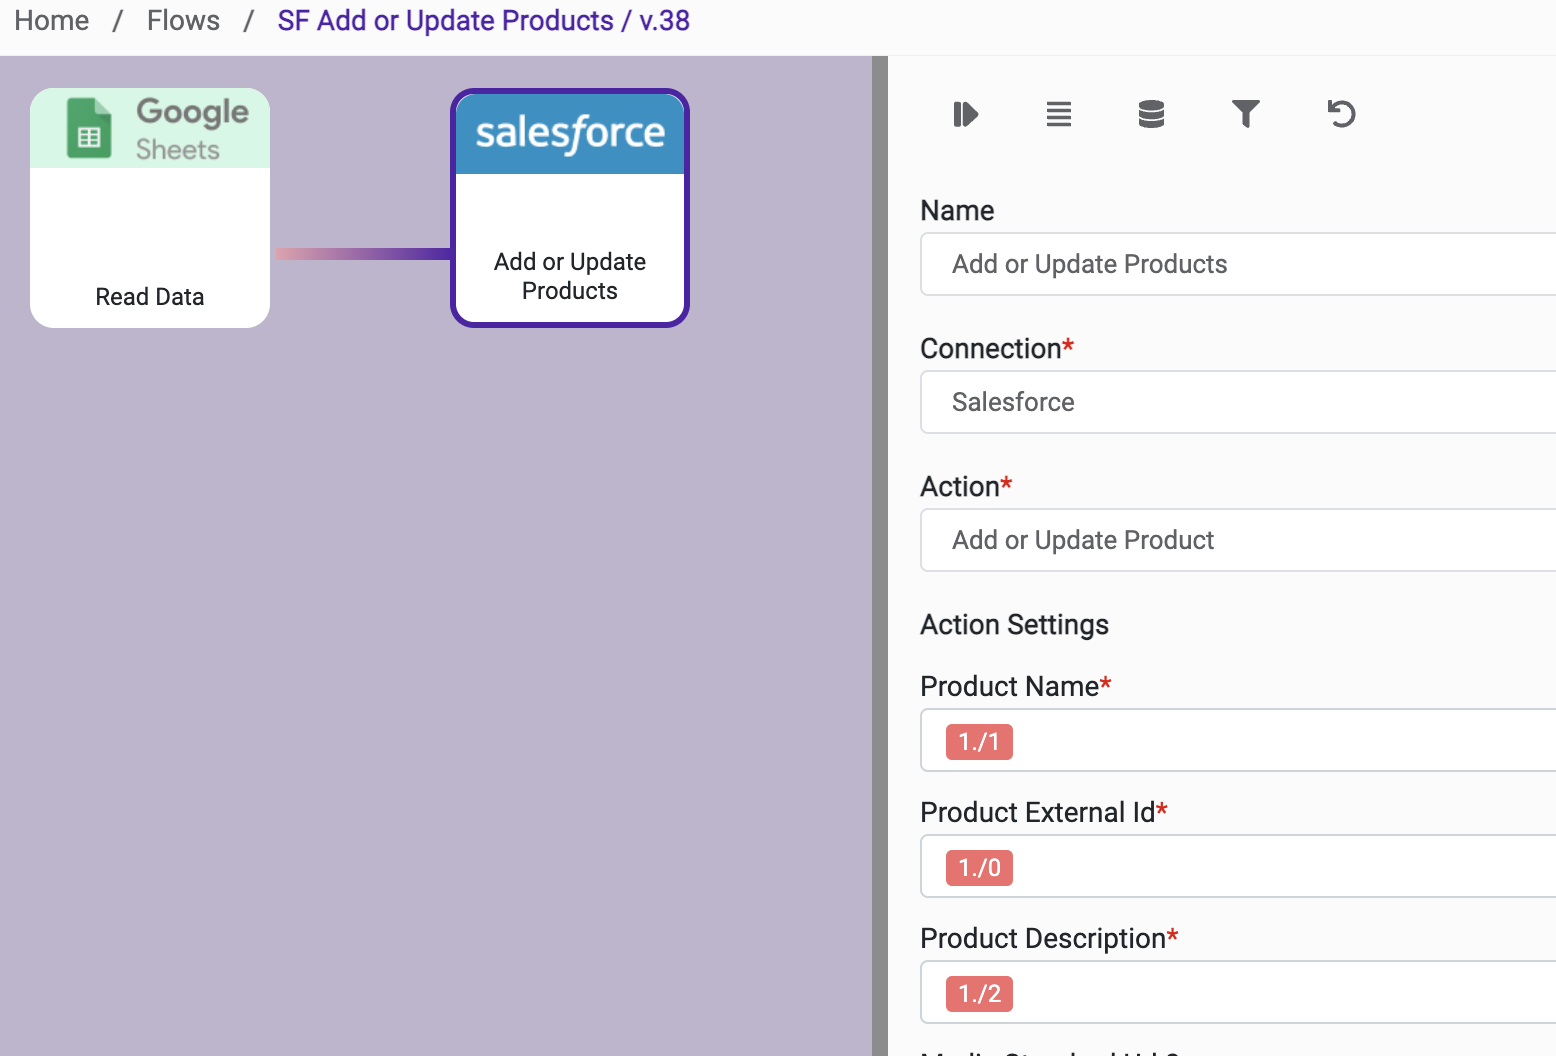
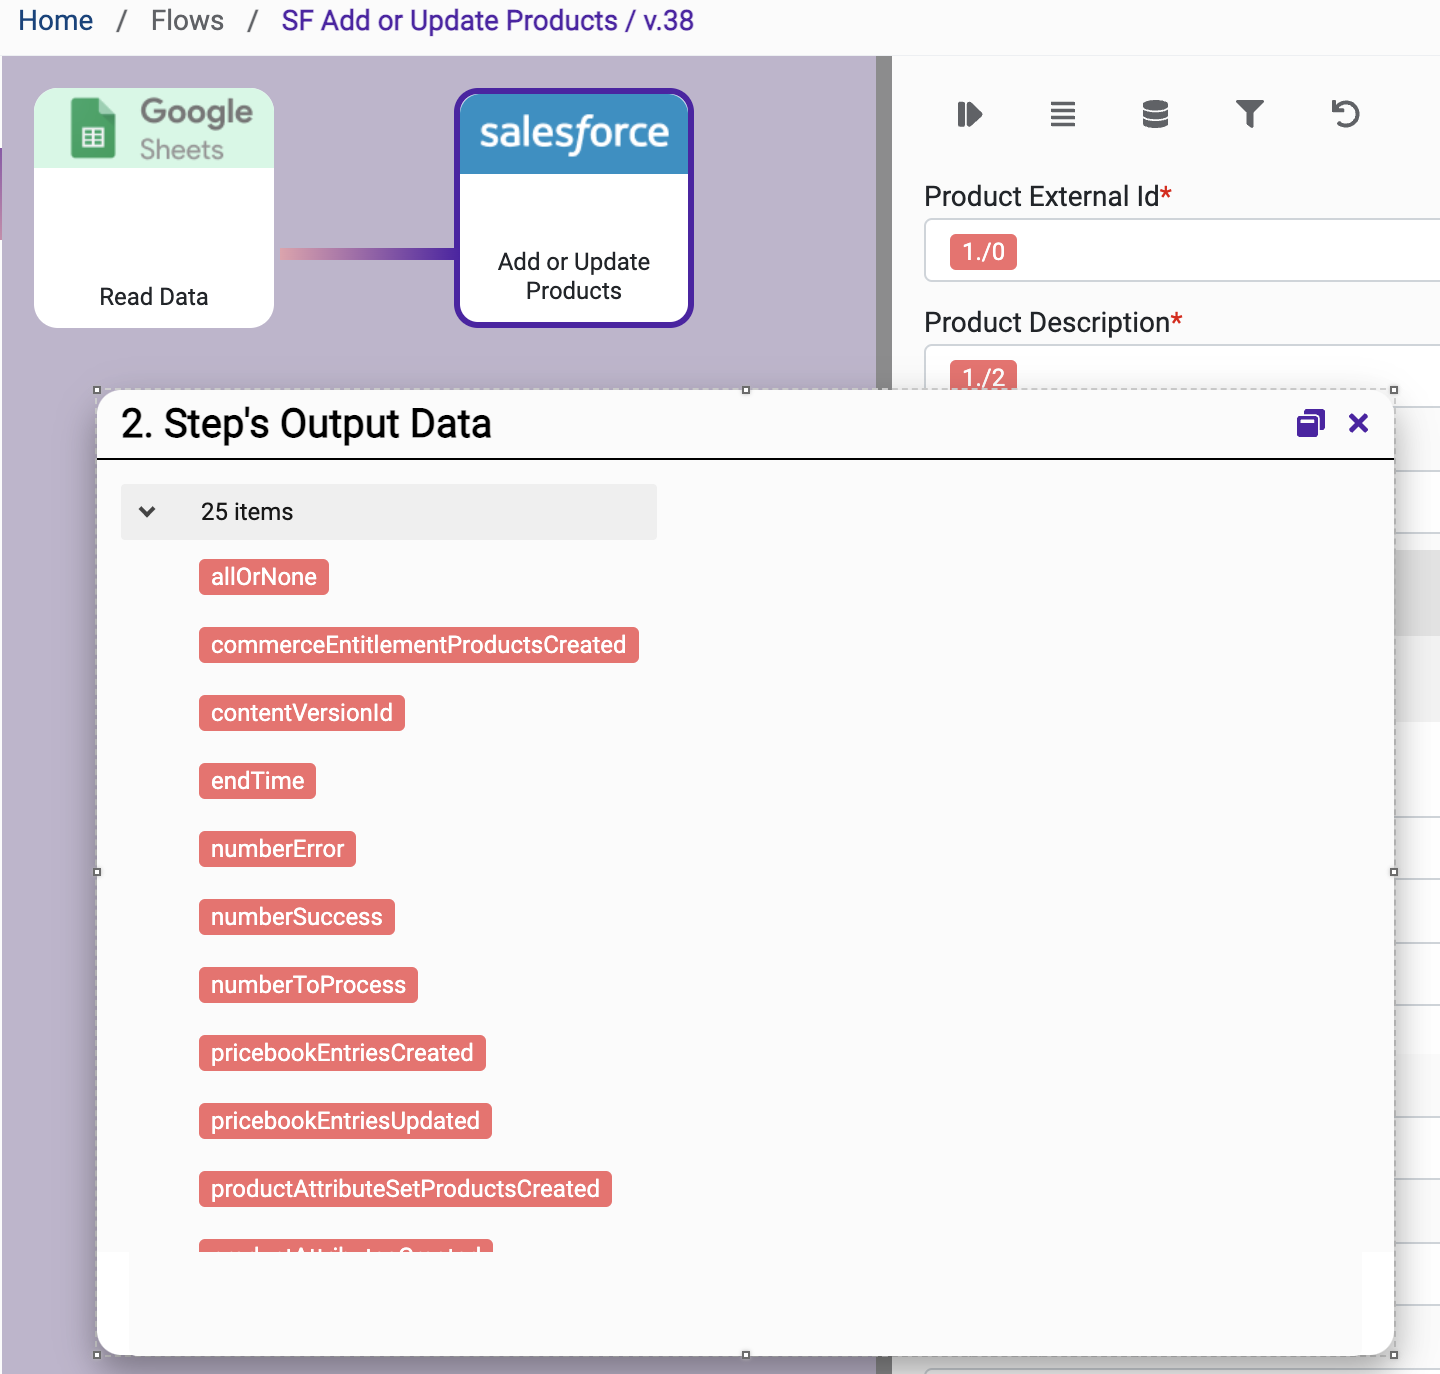
Action Name / METHOD | Add or Update Product | ||
|---|---|---|---|
Action Description | Adds a new product to Salesforce commerce store. Updates the product if it exists. | ||
Request Body Name | Parameter | Type | Description (Example) |
| Product External ID | string |
|
| Product Name | string |
|
| Product Description | string |
|
| Category | string |
|
| SKU | string |
|
| Custom Fields | Array | Used to add custom fields |
| Media Standard Url 1 | url |
|
| Media Standard Url 2 | url |
|
| Media Standard Url 3 | url |
|
| Media Standard Url 4 | url |
|
| Media Standard Url 5 | URL |
|
| Media Standard Url 6 | URL |
|
| Media Standard Url 7 | URL |
|
| Media Standard Url 8 | URL |
|
| MedianListing Thumbnail | URL |
|
| Median Listing Url | URL |
|
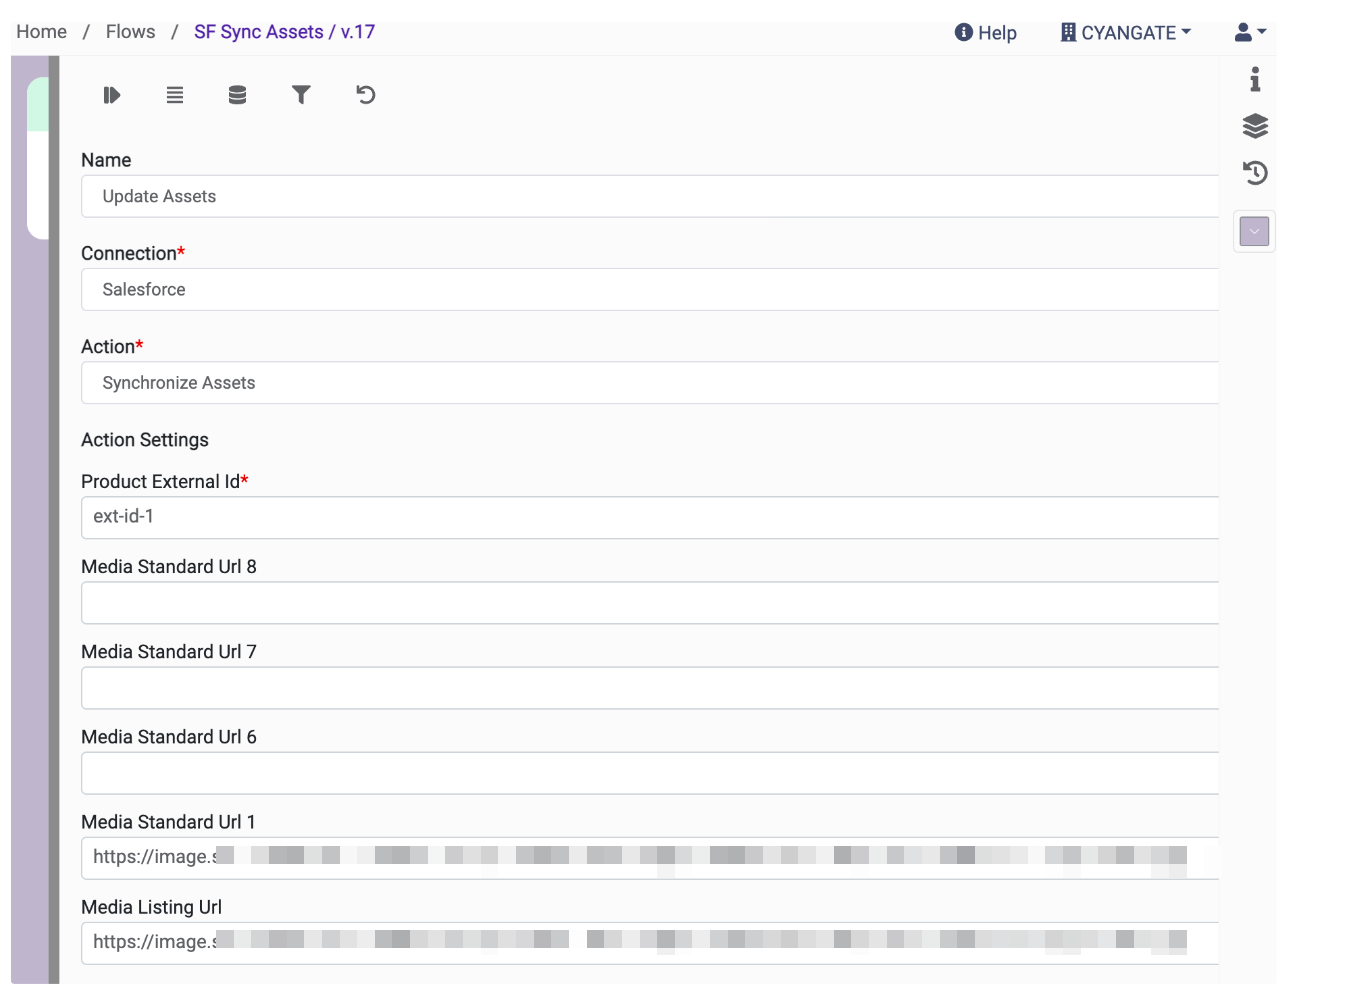
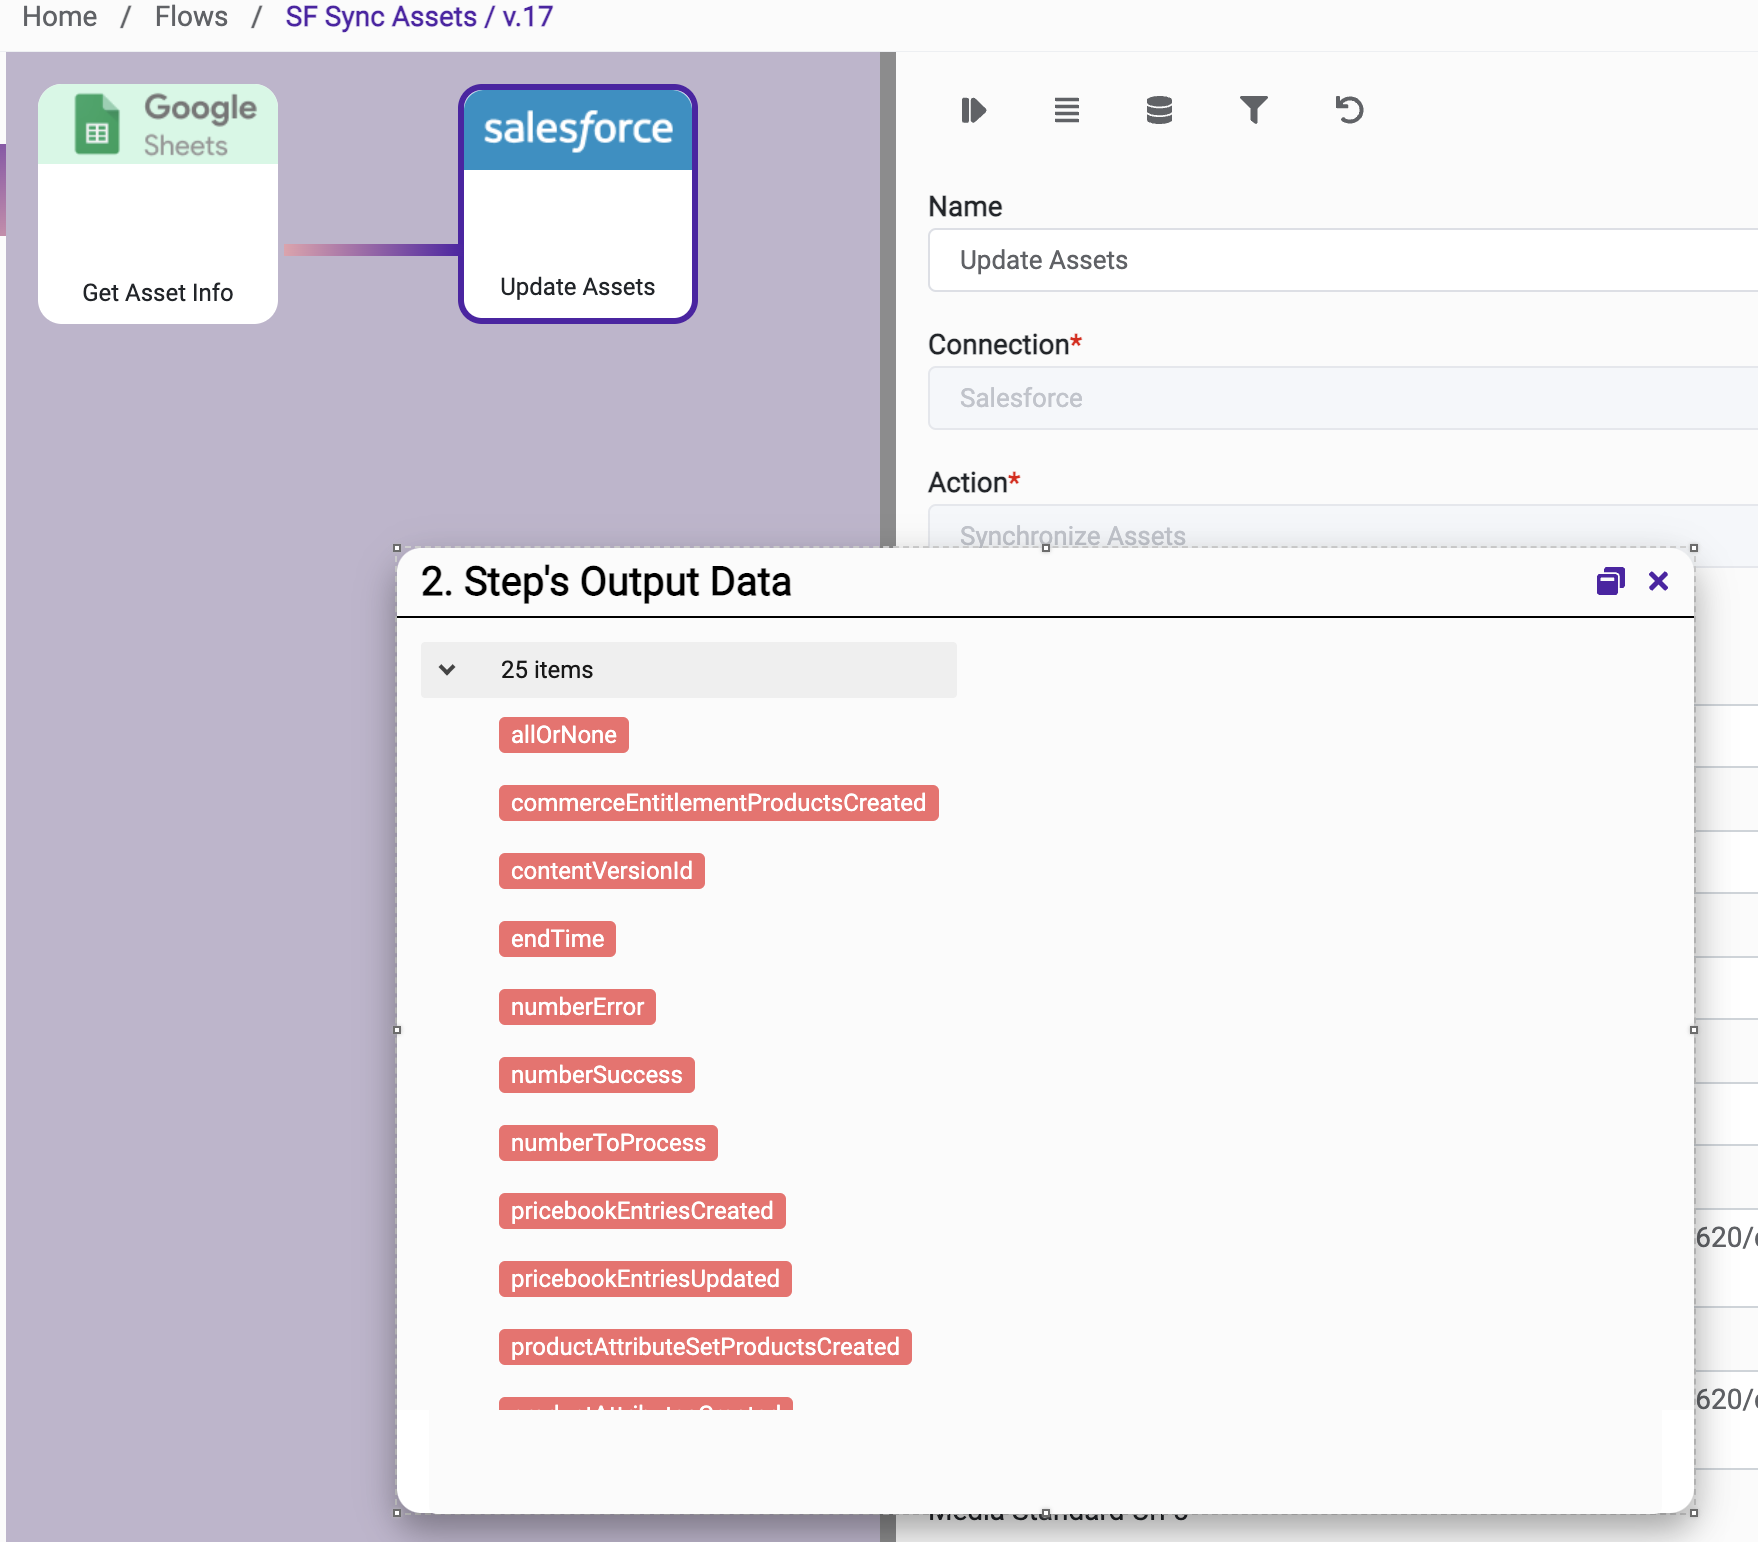
Action Name / METHOD | Synchronize Assets | ||
|---|---|---|---|
Action Description | Sets the specified assets for the product | ||
Request Body Name | Parameter | Type | Description (Example) |
| external ID | String | Product External ID |
| Media Standard Url 1 | URL |
|
| Media Standard Url 2 | URL |
|
| Media Standard Url 3 | URL |
|
| Media Standard Url 4 | URL |
|
| Media Standard Url 5 | URL |
|
| Media Standard Url 6 | URL |
|
| Media Standard Url 7 | URL |
|
| Media Standard Url 8 | URL |
|
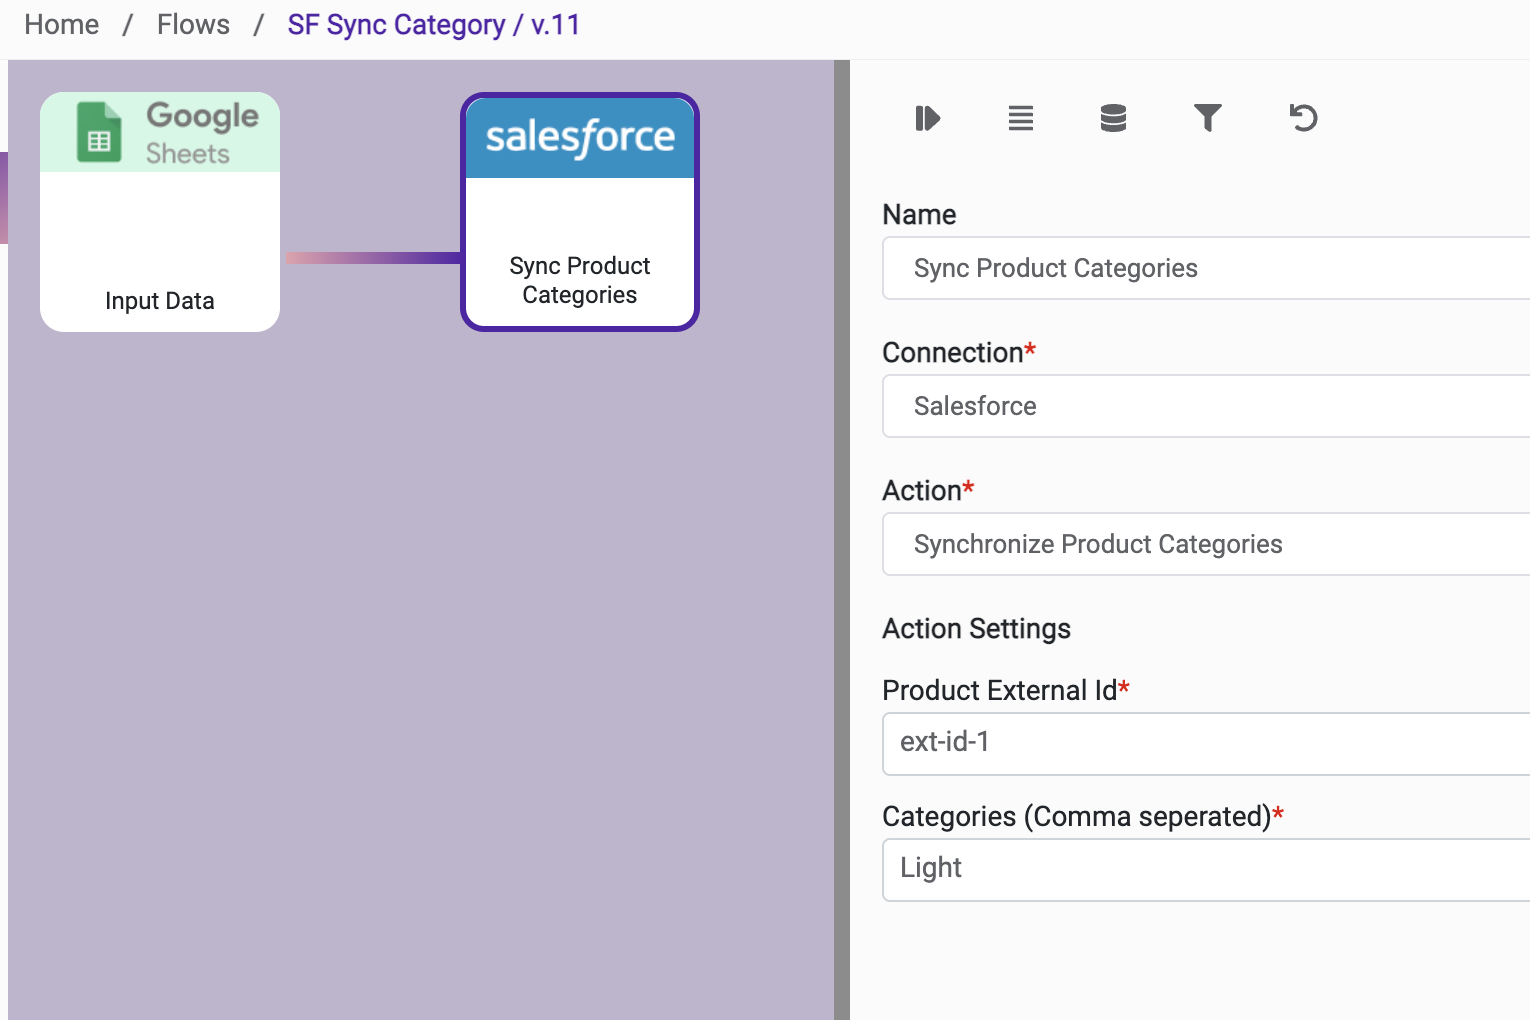
Action Name / METHOD | Synchronize Product Category | ||
|---|---|---|---|
Action Description | Synchronize Product Category | ||
Request Body Name | Parameter | Type | Description (Example) |
| Product External ID | string |
|
| Categories | string | Comma-separated list of categories |

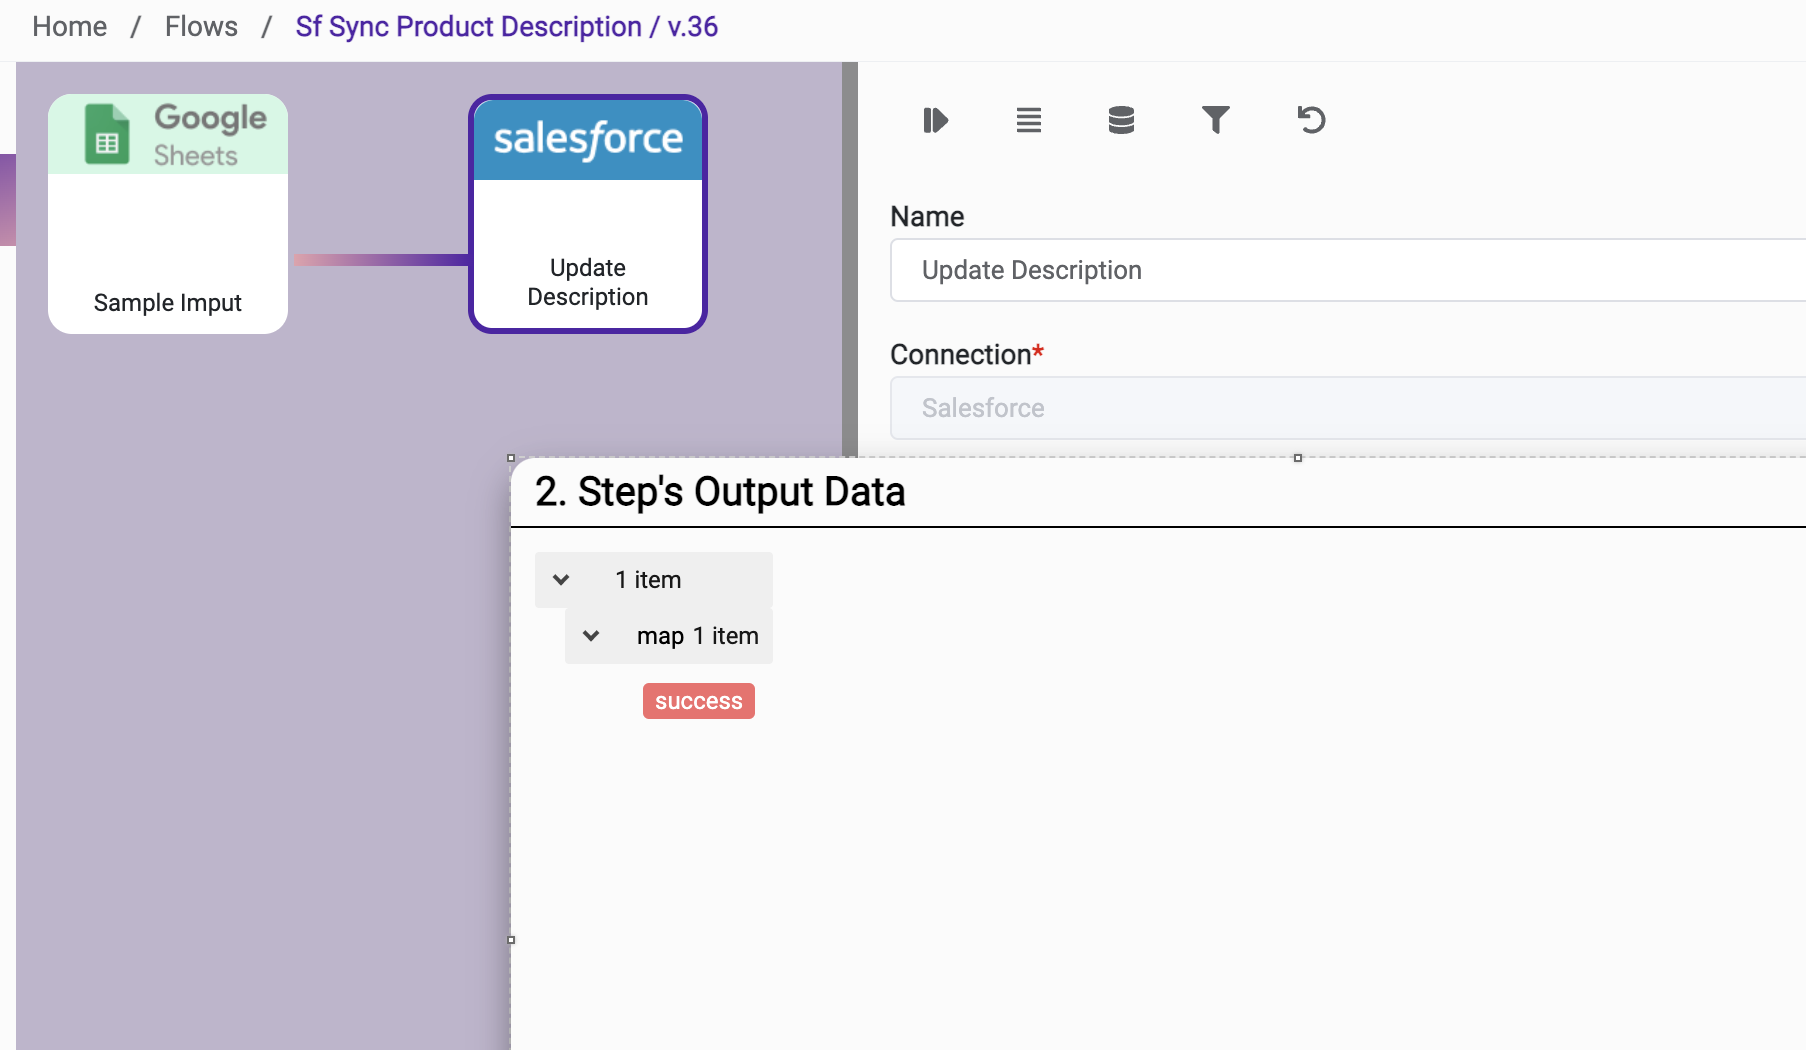
Action Name / METHOD | Synchronize Product Description | ||
|---|---|---|---|
Action Description | Synchronize product description | ||
Request Body Name | Parameter | Type | Description (Example) |
| Product External ID | string |
|
| Description | string |
|

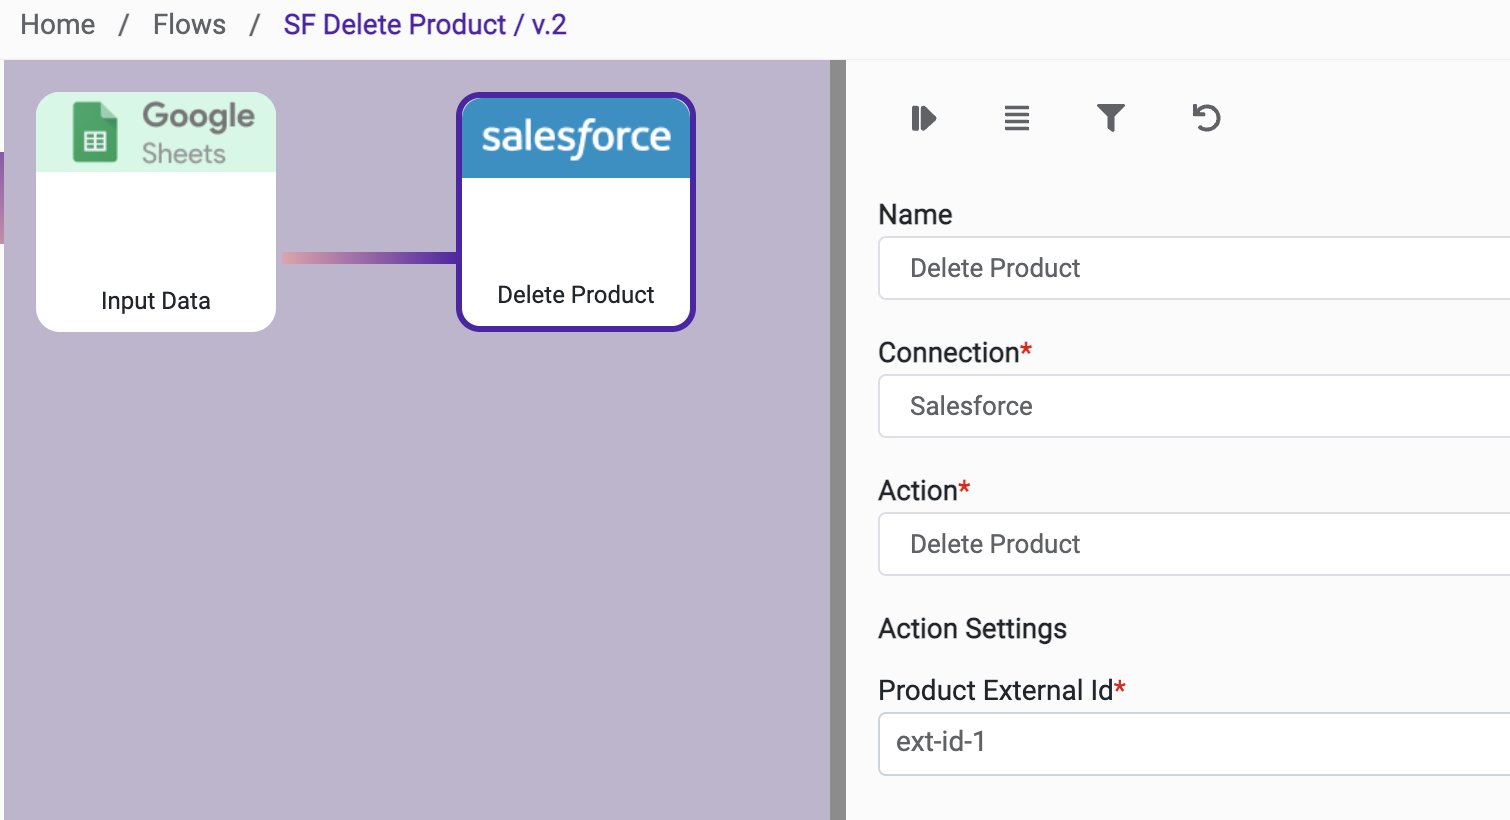
Action Name / METHOD | Delete Product | ||
|---|---|---|---|
Action Description | Delete Product | ||
Request Body Name | Parameter | Type | Description (Example) |
| Product External ID | string |
|
| Description | string |
|
|
|
|
|
|
|
|
|
|
|
|
|