Shopify Connector v1.0
1. General Information
Shopifyis an e-commerce platform that offers an easy way to build an online store, sell and ship products and accept payments online.
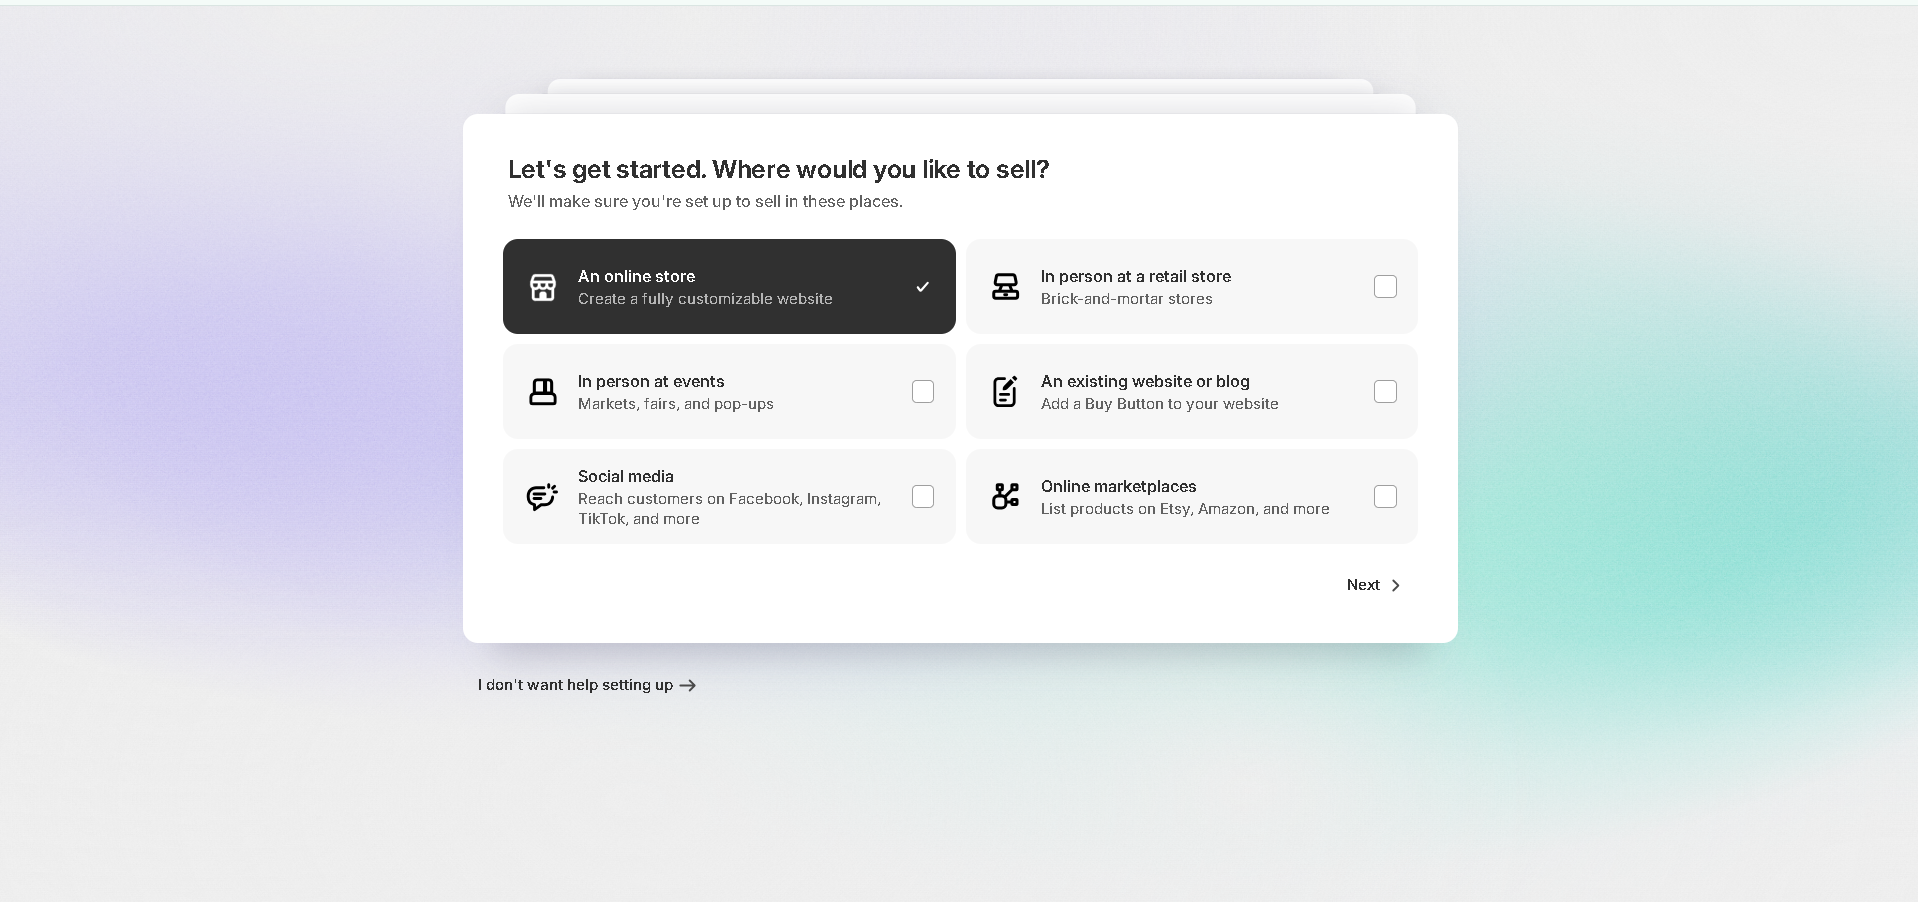
a. Store creation
Shopifyprovides 3 days free trial then 1 month for $1. Start Free trail on Shopify with Google Account or any other email address.

b. Additional Steps
After the store is created we need some additional settings.
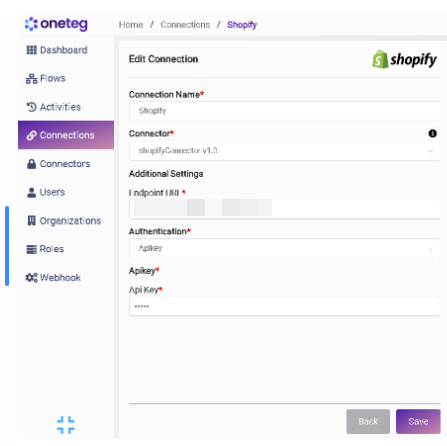
Add product for testing authentication
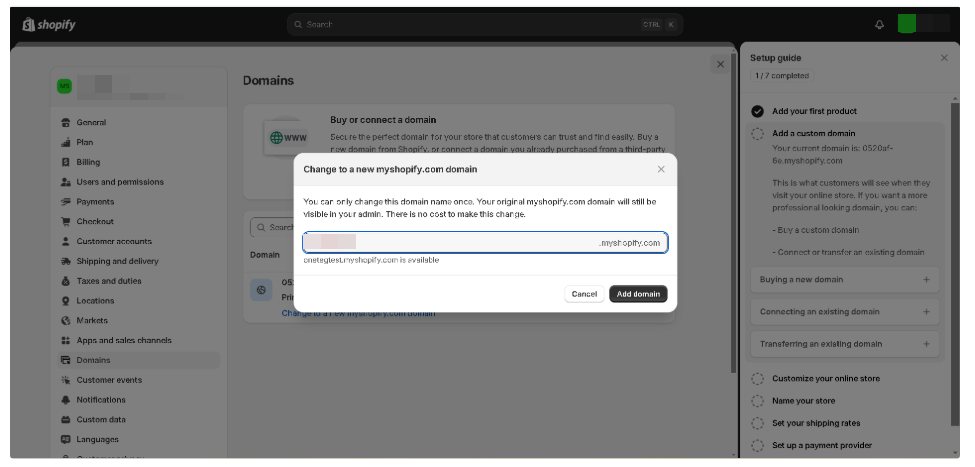
Change to a new myshopify.com domain. We can add our desired name in this step.
2. Authentication
a. App creation and getting access token
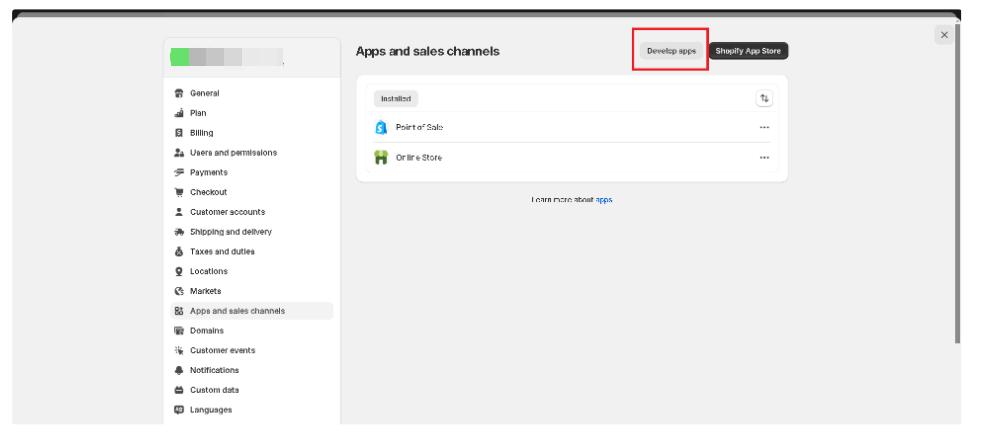
Go to Apps and sales channels in settings and click Develop Apps.
Allow Custom App development
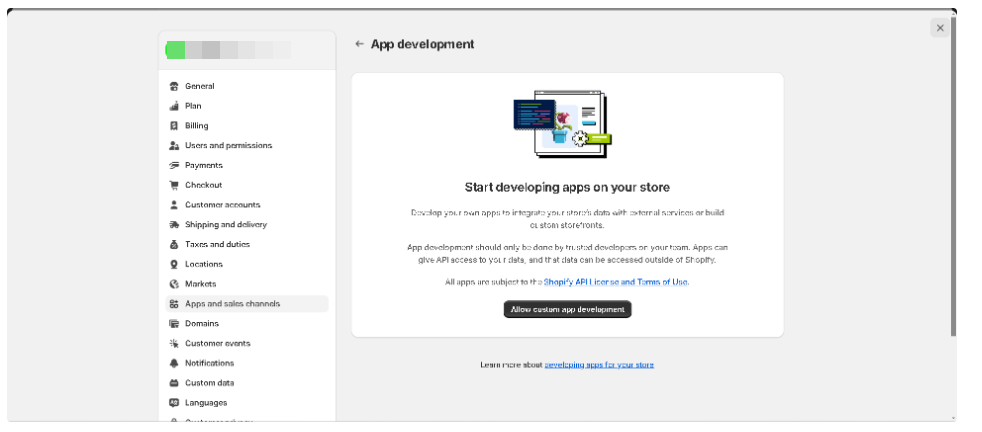
After allowing Custom App development Create an App

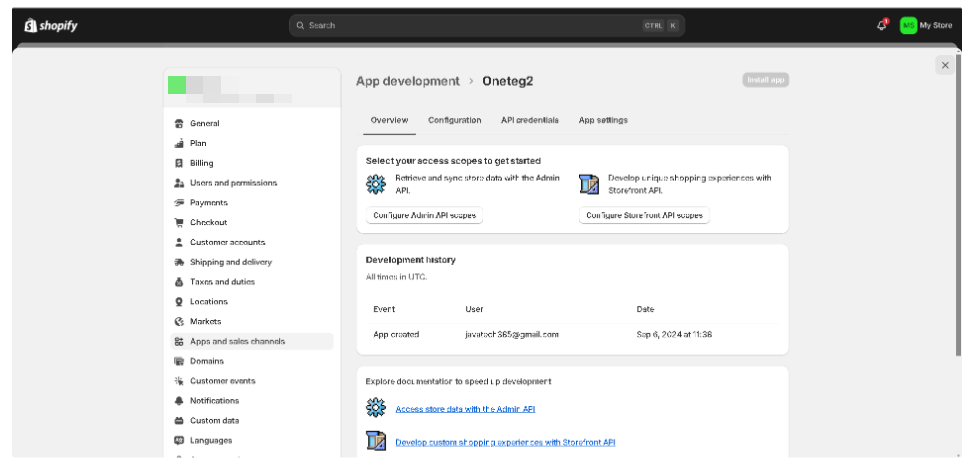
b. Adding Scopes and Generating Token
In Overview click on Configure Admin API Scopes or Configure Storefront API Scopes to add scopes for token.
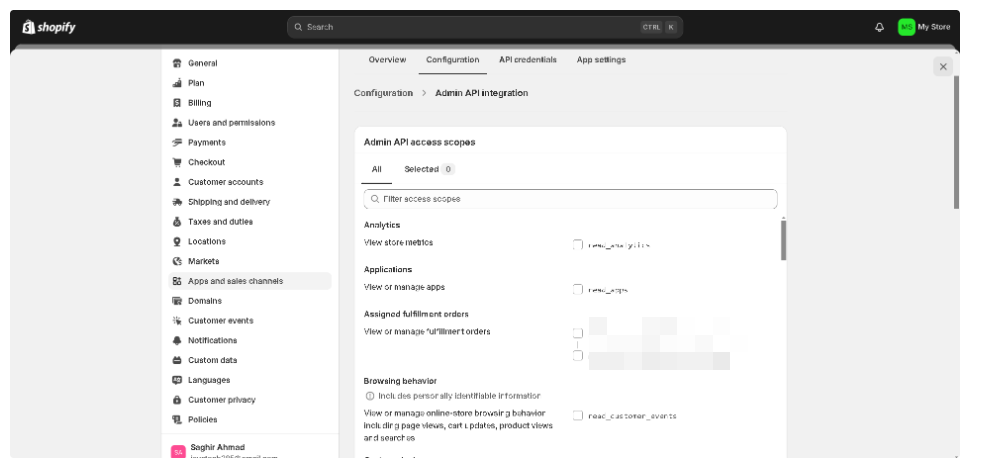
Select all relevant scopes you want to use APIs for in Configuration.
No go to API Credentials and click Install App. After app is installed click Reveal token once to view the token.
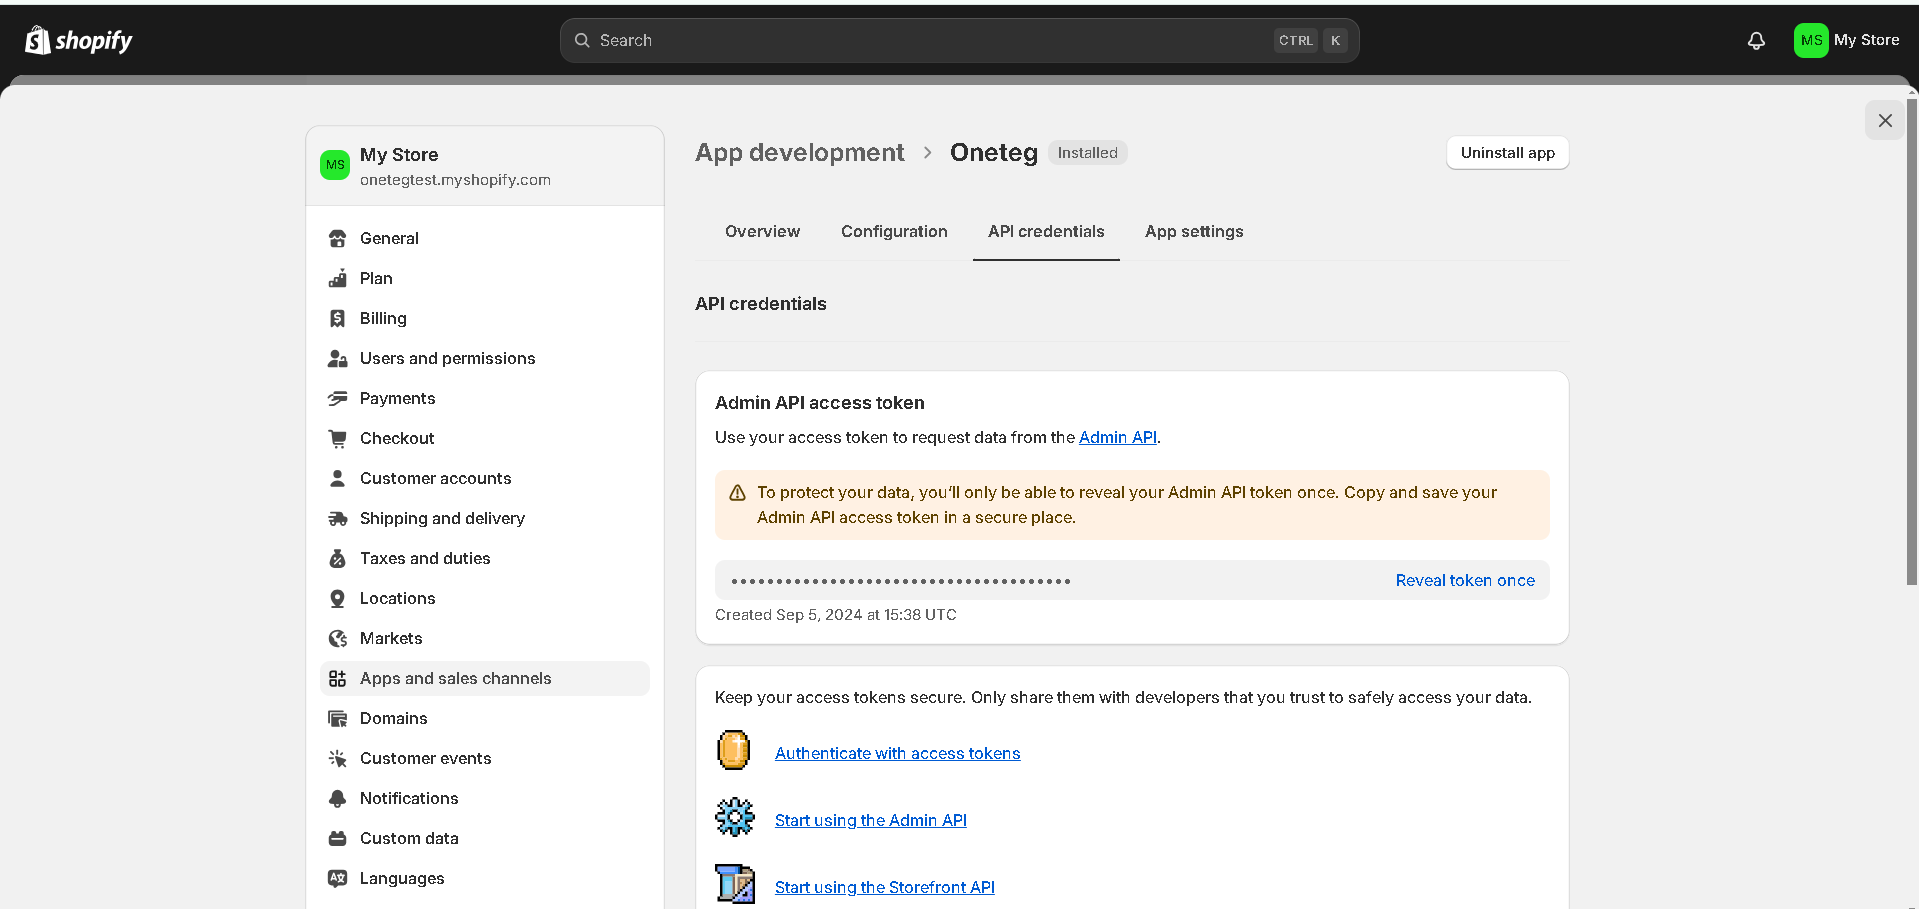
c. Using Token in Headers
The token generated is used in header X-Shopify-Access-Token to authenticate apis e.g
curl -X GET "https://oneteg.myshopify.com/admin/api/2024-04/products.json" \-H "X-Shopify-Access-Token: {token_value}"
3. Connector Actions and Tests
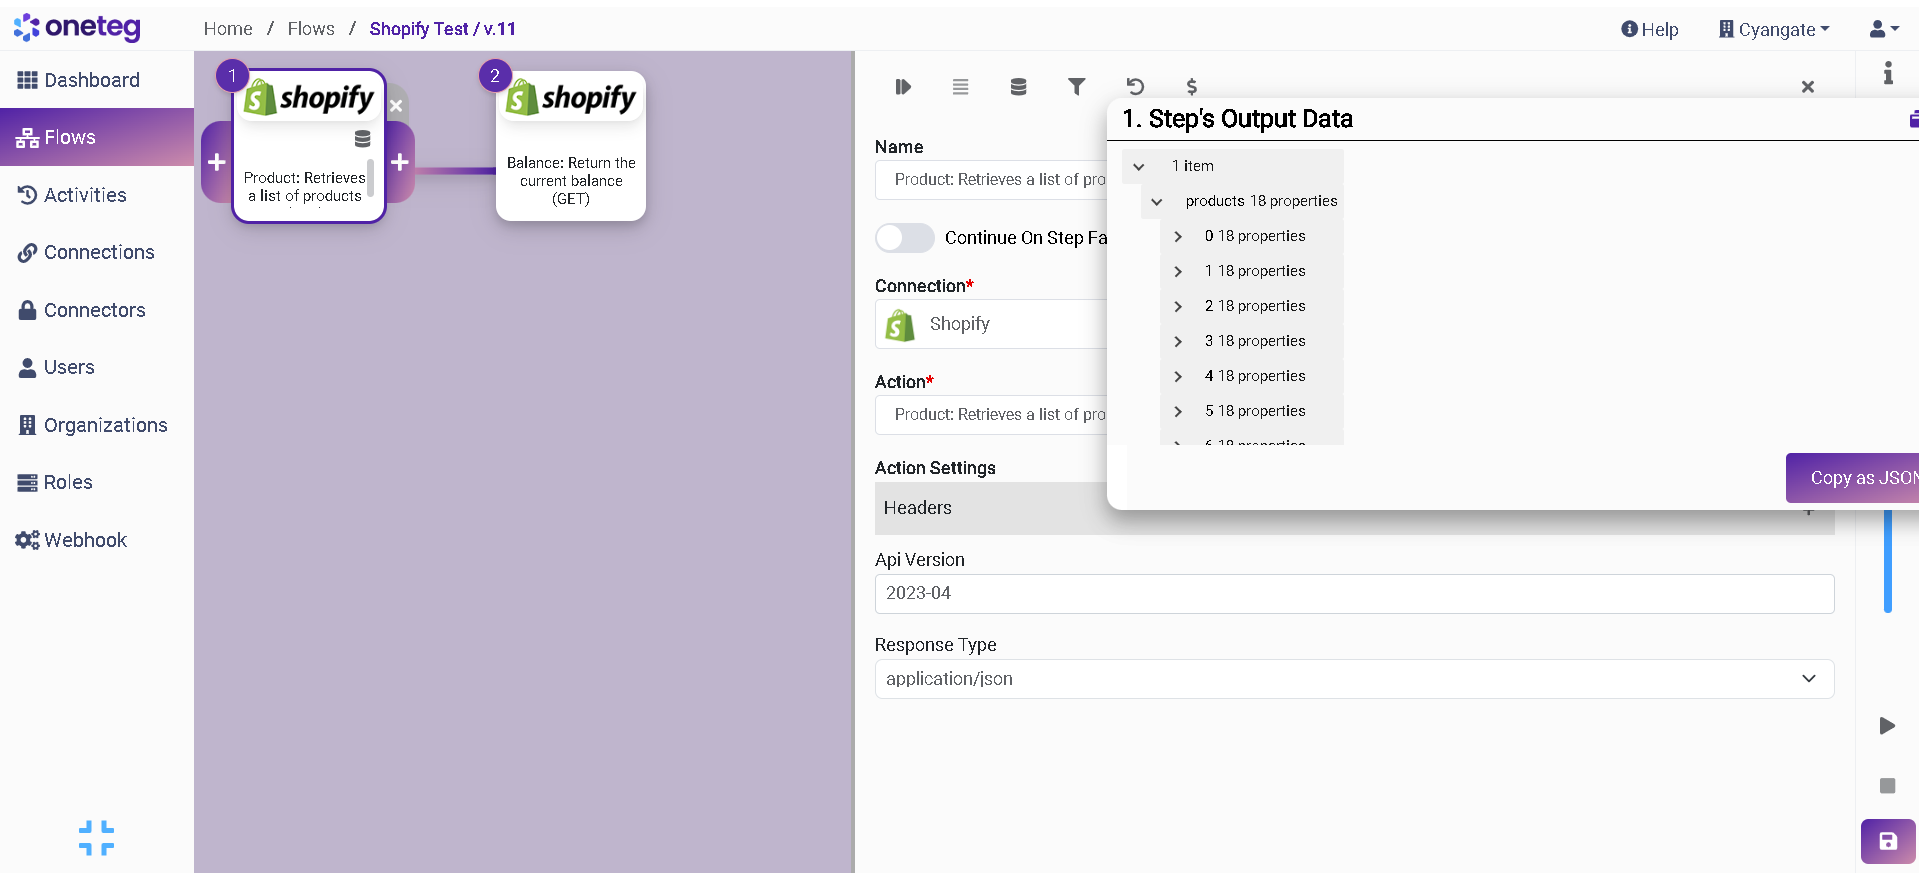
Product: Retrieves a list of products (GET)
Action Name / Method | Product: Retrieves a list of products (GET) |
|---|---|
Action Description | This action is used to retrieve all products on Shopify.
|
Test Case | This action is used to retrieve all products on Shopify. |
Request Body Name | Paramenter |
| Api Version |
4. Connection Settings and Configuration
Settings Parameters | Value | Description | Required (Y/N) | Default Value |
|---|---|---|---|---|
Connector | Shopify | Connector Name | Y | Shopify |
Host Name | Endpoint required for performing CRUD | Y | ||
Authentication | Api_Key | Type of authentication | Y |
|
Api Key | Api_Key |
| Y | {api_key} |