1. General Information
Log into Google Console with correct credentials for creating new Google Drive Application
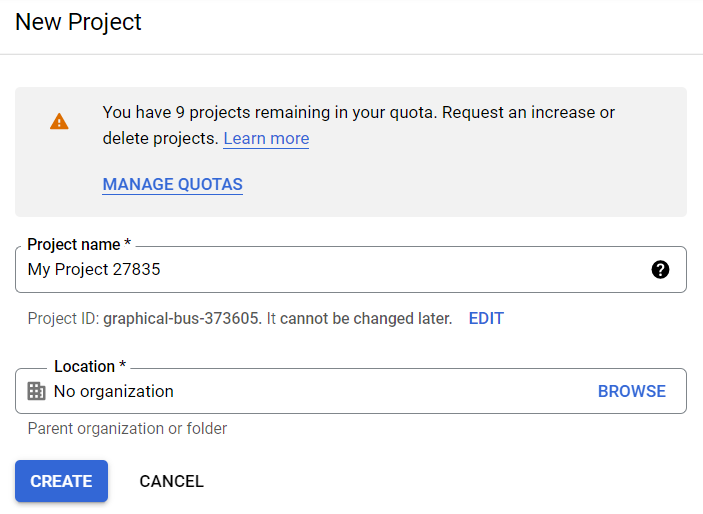
Create new project:
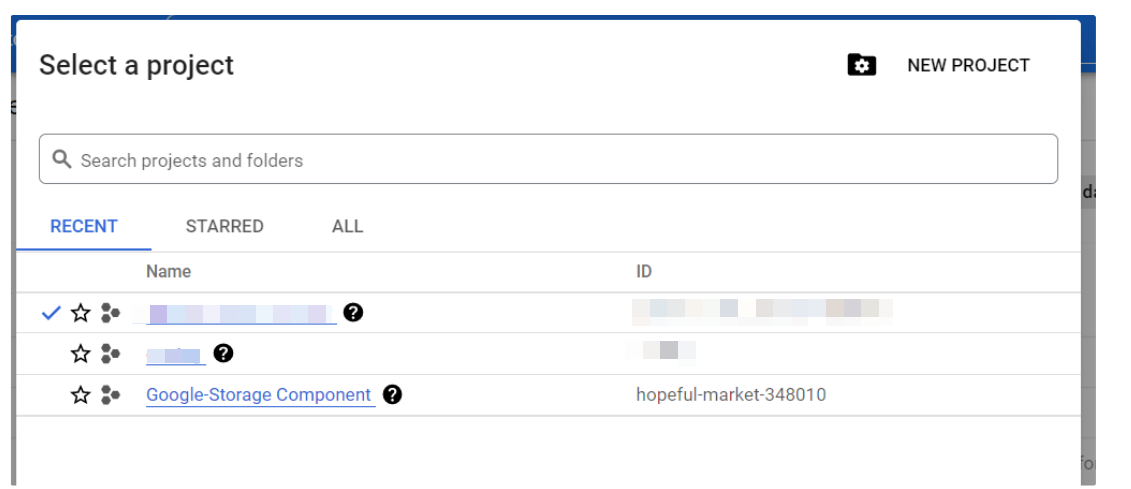
Select newly created project from menu as shown below:
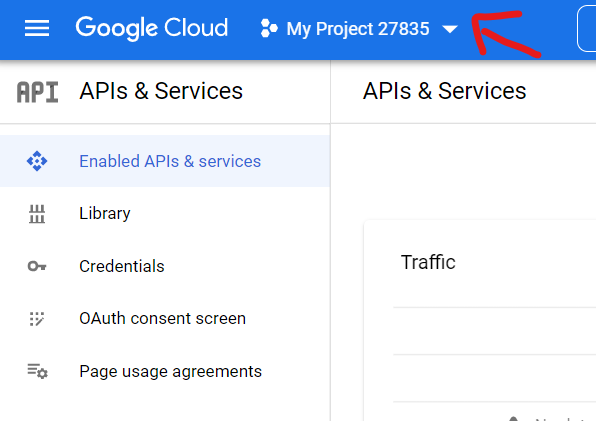
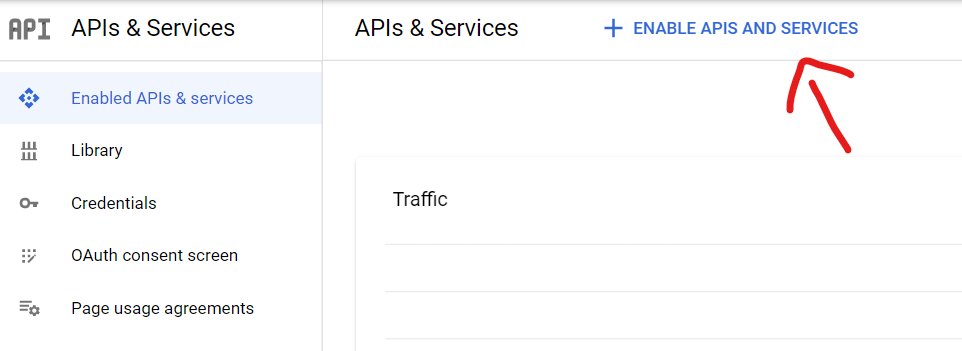
Click on the Enable API and Services for selecting the required API access:
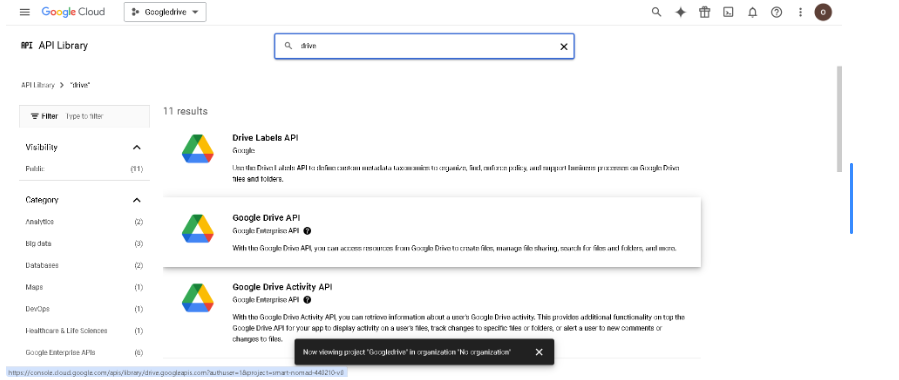
Find and select the Google drive API as shown:
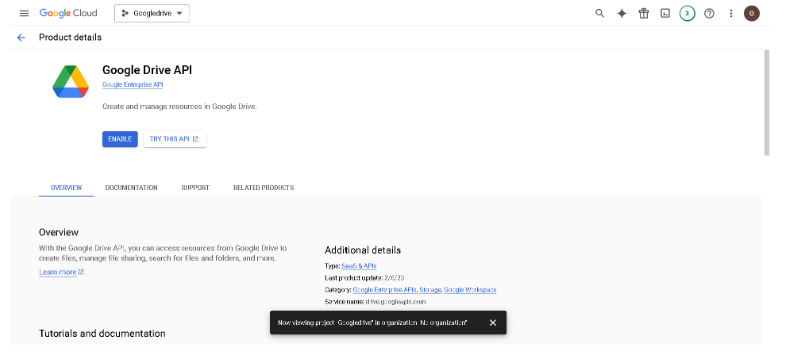
Enable Google Drive API:
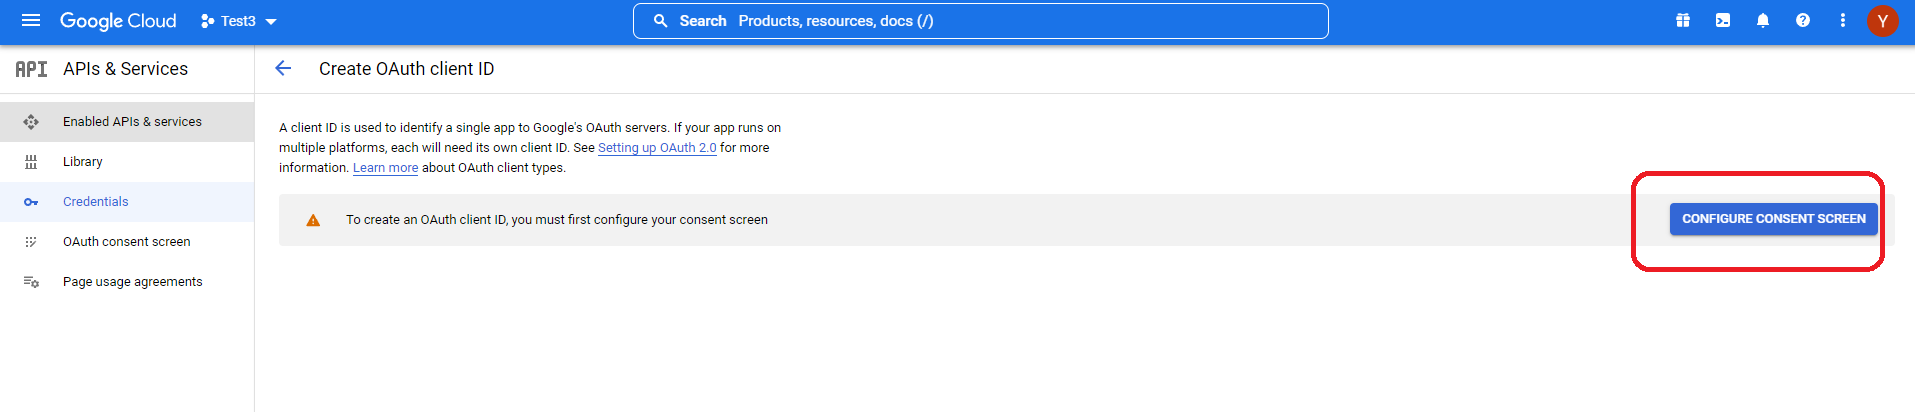
We need to add a new credential. Select APIs & Services selection from the left menu table and select “Credentials”. From the new page, on the top side select “Create Credentials” and select “OAuth Client ID”
As the prompt, the “Consent Screen” needs to be configured. Press the “Consent Screen Options” on the right side of the screen.
This new page lets you configure the App Registration and gives info about the info presented to the users.
First enter your App information, user support mail, App logo (if any), and other information you deem necessary. Please remember to add the “Developer Contact Information” mail address at the end of the first page. User support mail address will be selected as the same address the Google Account used to open this cloud space.
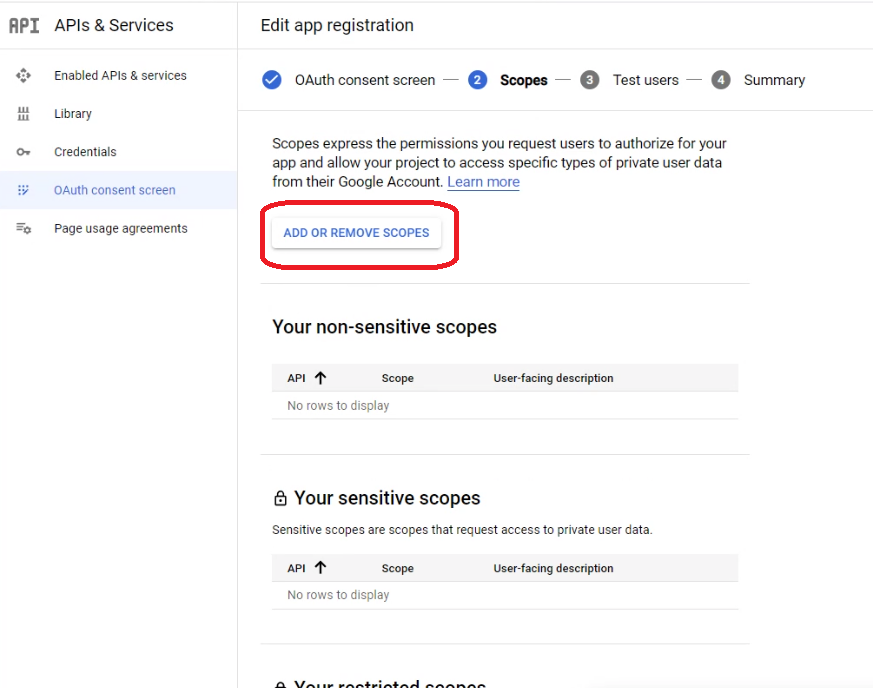
Press the “Add or Remove Scopes” button and select the required scopes as shown below:
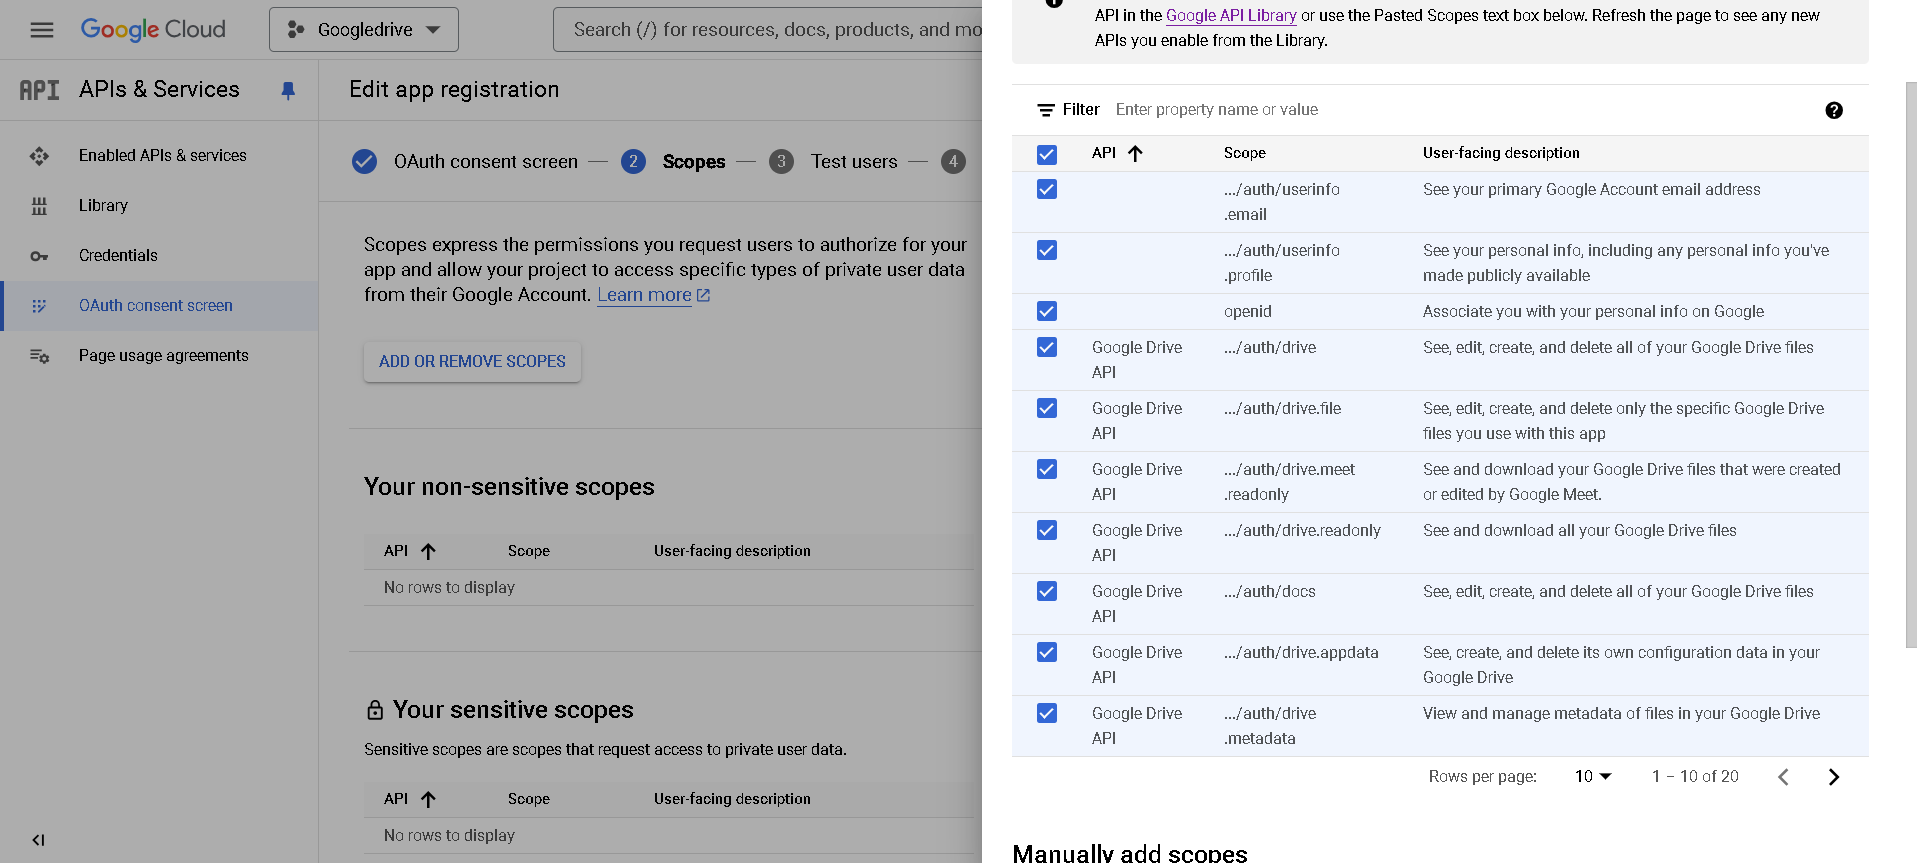
In the filter part, write “Google Drive API” and select all the API’s that have “Google Sheets” in the name.
After adding your scopes, please press Save and Continue button.
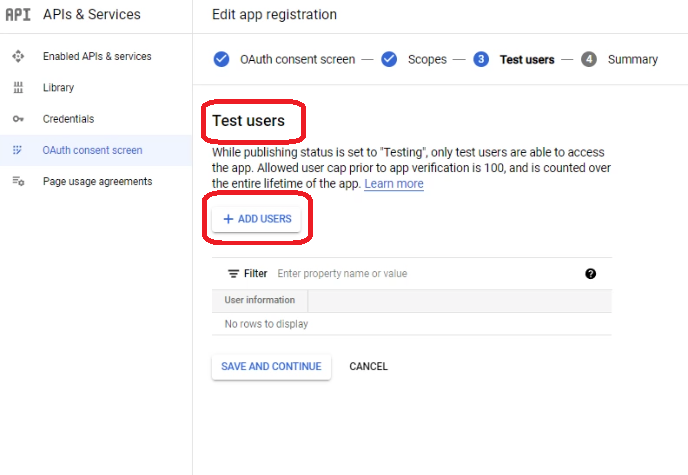
In the next screen, we will add Test User accounts to this App. Press the Add Users button and add the Google user account that you are currently logged in to (for us this is the onetegtest@gmail.com)
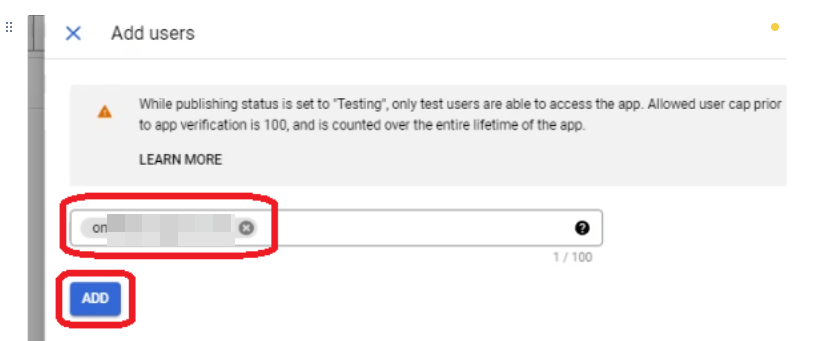
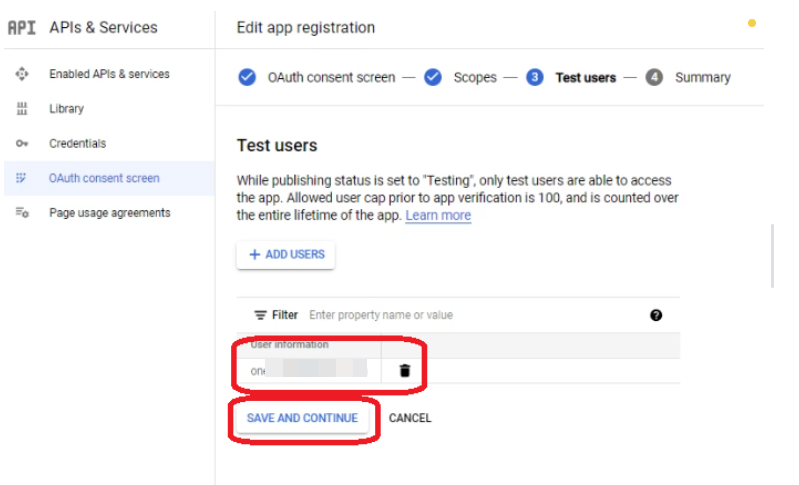
Be sure to check that the email you have entered to the Test users part is shown. To continue click the save and continue button.
You will see a summary page with the information you have added.
Click the Back to Dashboard button at the end of the page to go back to the Dashboard.
Click the Credentials button on the left side menu and click Create Credentials button at the top menu.

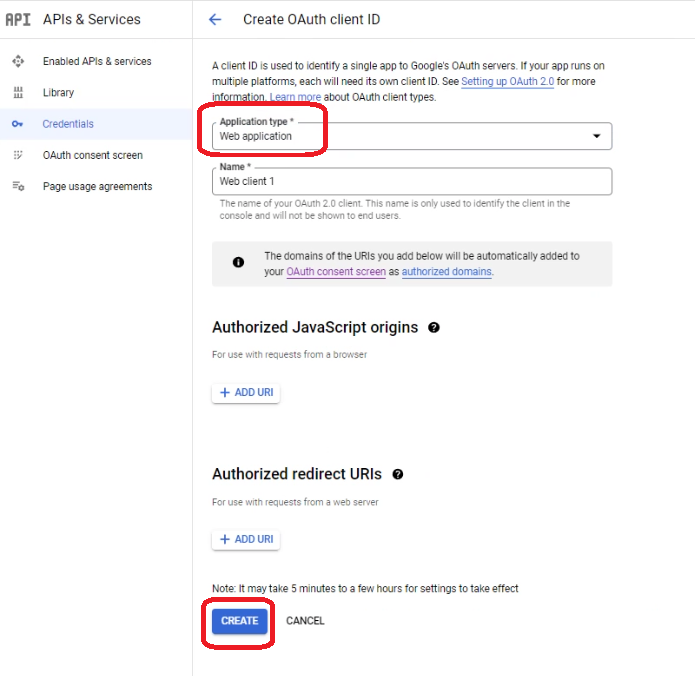
Select the appropriate application type for OAuth client which is Web App, and press create.
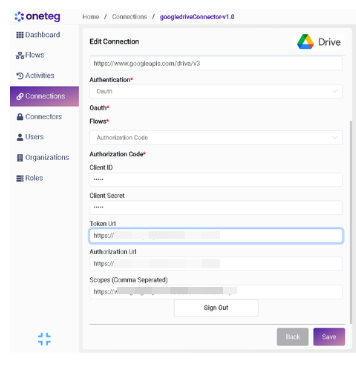
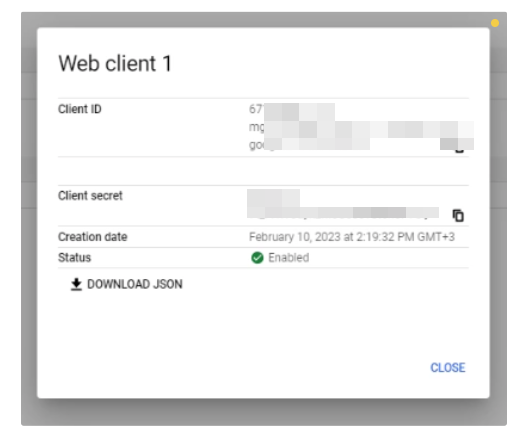
This will show you an OAuth Client Created Page, which will show you the Client ID and Client Secret information. Save these codes for we will use these credentials in the Oneteg environment to generate the Callback URL.
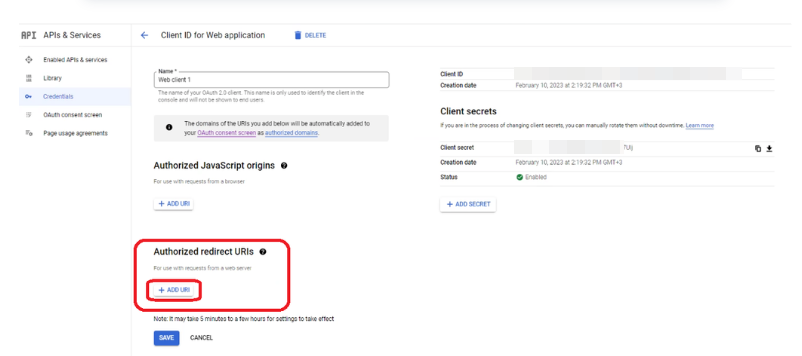
After adding the the URI, press save to save it.
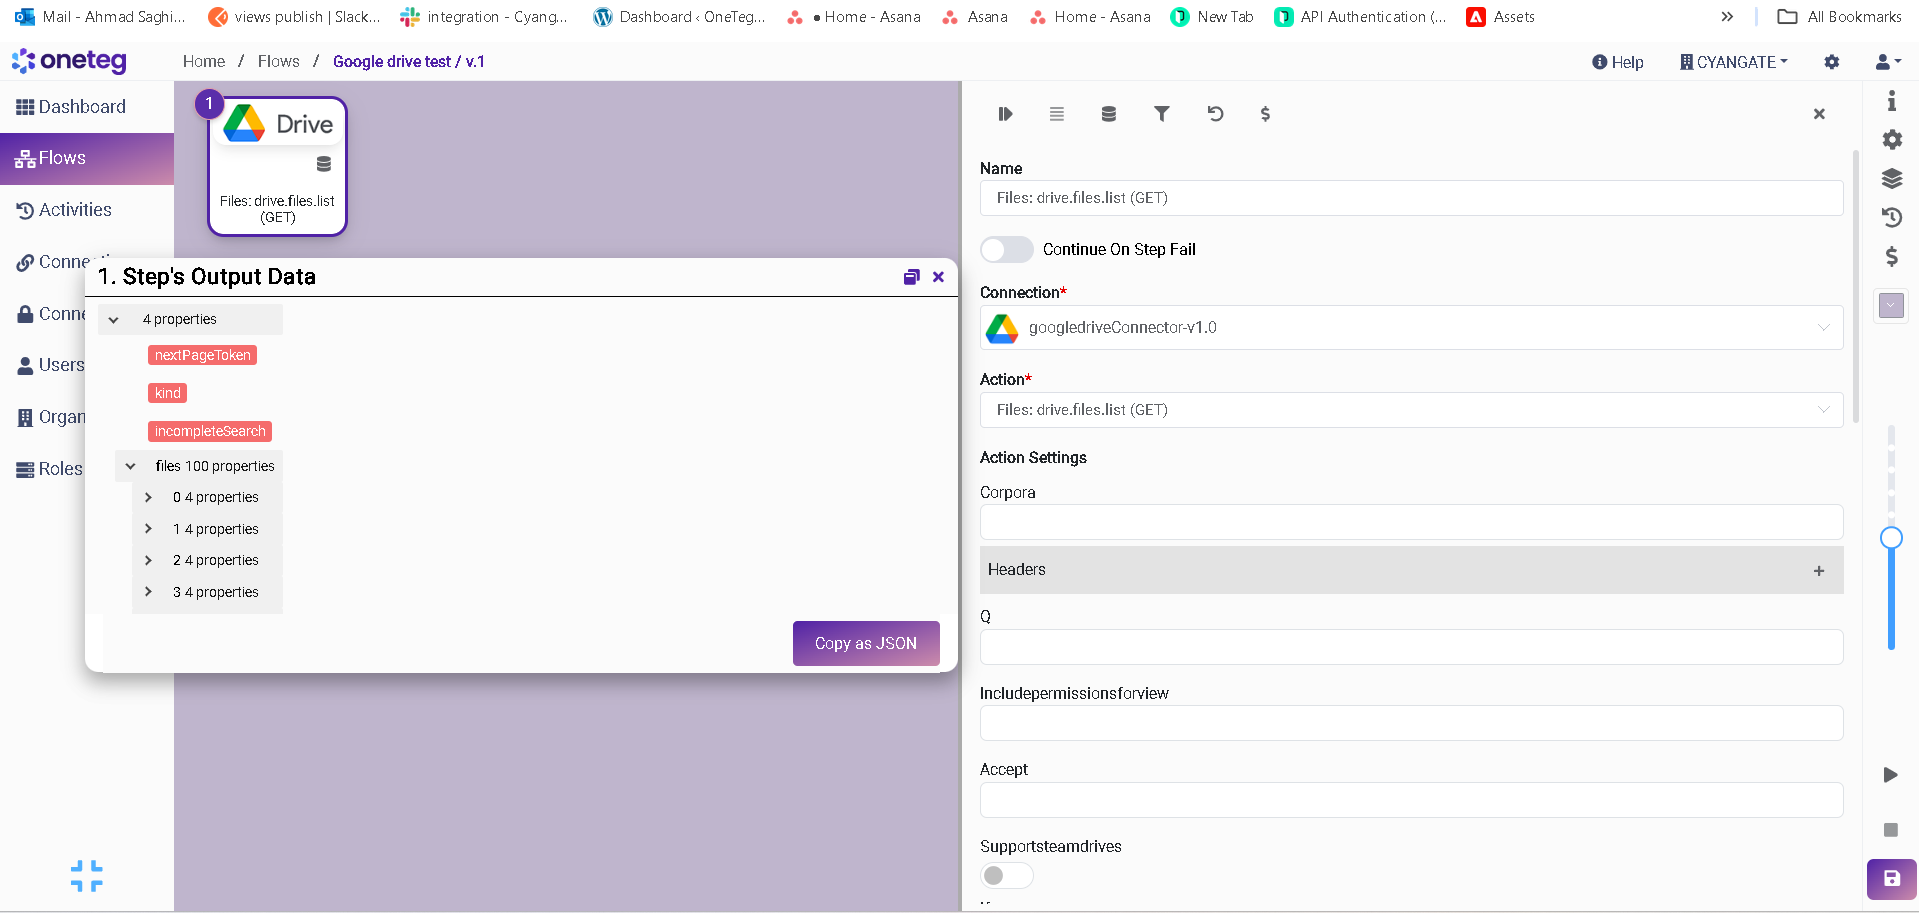
2. Connector Action & Tests
|
Action Name / Method |
Files: drive.files.list (GET) |
||
|---|---|---|---|
|
Action Description |
List all files on google drive |
||
|
Test Case |
List all files on google drive |
||
|
Request Body Name |
Parameter |
Type |
Description (Example) |
|
Settings Parameters |
Value |
Description |
Required (Y/N) |
Default Value |
|---|---|---|---|---|
|
Connector |
Google Drive |
Connector Name |
Y |
Google Drive |
|
Host Name |
Endpoint required for performing CRUD |
Y |
||
|
Authentication |
OAuth |
Type of authentication |
Y |
|
|
Flows |
Authorization Code |
Type of OAuth Flow |
Y |
|
|
Client Id |
{client_id} |
{client_id} |
Y |
|
|
Secret |
{Secret} |
{Secret} |
Y |
|
|
Auth Url |
|
|
||
|
Toekn Url |
|
|